
|
Do it yourself
| |||
| ||||


Removing the Internal Panel of the Rear Boot on a Volkswagen Golf Mk6
Model: Volkswagen Golf
MK 6, Golf VI, Golf 6, 5K1
- Years 2008-2012
In this video, we will see how to remove the internal panel of the rear boot on a Volkswagen Golf Mk6. First, open the boot and use a screwdriver to unscrew the internal screws of the boot found inside the grab handle: once unscrewed, pull the plastic panel towards you, applying moderate force to detach and extract it. At this point, you have access to the internal part of the boot where all the mechanisms are located: follow the video to the end for the removal of other components.
Updated on 28 March 2026 by ScegliAuto
Video tutorial
Related tutorials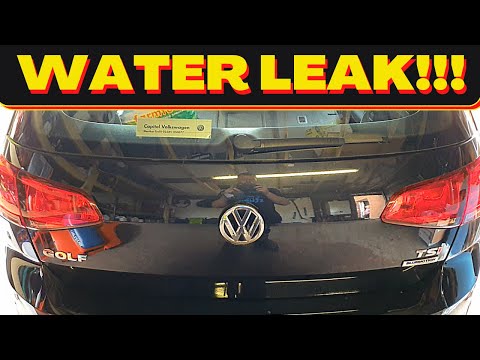
Volkswagen Golf
(2012-2019 /
Golf VII, MK 7, Golf 7)
This guide will illustrate the steps to remove and replace the tailgate panel of the Volkswagen Golf. First, open the tailgate and start unscrewing t…

Volkswagen Golf
(2003-2008 /
MK 5, Golf 5, Golf V)
The instructions in this guide will show us how to disassemble the trim or panel of the rear hatch of the Volkswagen Golf. First, we open the rear ha…
Volkswagen Golf
(2008-2012 /
MK 6, Golf VI, Golf 6, 5K1)
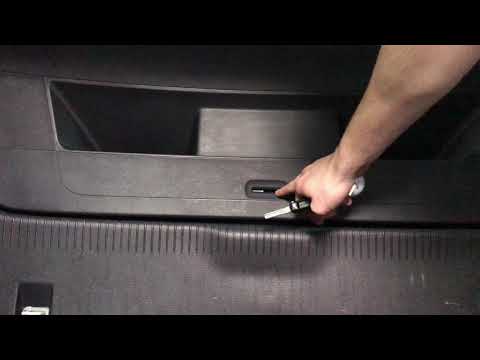
This brief and simple guide explains how to unlock the rear boot lock in case of an emergency for the Volkswagen Golf. First, open the rear doors and…
Other guides you may be interested in
|
Frequently Asked QuestionsHow to reset the tyre pressure warning light on a Hyundai Tucson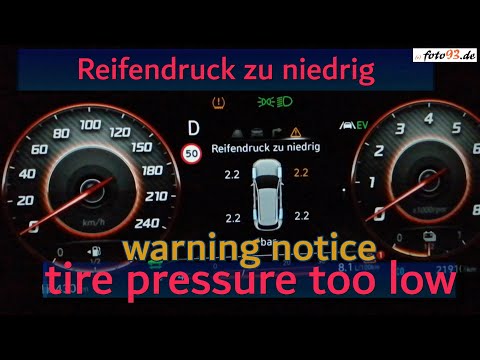
Below are the instructions to reset the tyre pressure warning light (TPMS) on a Hyundai Tucson. First, get into the vehicle and turn on the instrument cluster; then navigate to the vehicle settings until you reach the tyre pressure monitor, identifying the tyre with incorrect pressure. At this point, restore all tyre pressures according to the specifications indicated on the label; this will reset the TPMS and the warning light will be cleared from the instrument cluster! by ScegliAuto More videos
|
|
For advertising on this site Write to info@scegliauto.com
ScegliAuto is not responsible for any inaccuracy of the data in the lists. To report any inaccuracy or your business (if you own the business in question), please write to info@scegliauto.com
Number of seconds to generate the page: 0.058
(c) ScegliAuto 2026 - info@scegliauto.com - Privacy policy VAT number: IT01247470535 |
