
|
Do it yourself
| |||
| ||||


Replacing the Front Wheel Bearing
Model: Volkswagen Maggiolino
MK 1
- Years 1938-1980
Lift the vehicle on suitable axle stands and remove the front wheel corresponding to the hub you will work on. Once the wheel is removed, take off the central protective cap of the hub fixing nut (first, you need to detach the central circlip); then unscrew the locking pin of the nut (the nut is clamp-like and is left-hand threaded, meaning it unscrews in the opposite direction) and the nut itself; then remove the brake caliper and the complete hub with disc. The bearing consists of roller cages with corresponding raceways, as well as the respective oil seals: once on the bench, extract the roller cages and then the raceways using a punch; then insert the new raceways, pushing them to the end of the stroke with a suitable diameter pad; then insert the roller cages, generously greasing them, and apply the oil seals. Finally, reassemble the hub, brake caliper, and wheel, properly tightening the central nut without locking the wheel's rotation.
Updated on 6 February 2026 by ScegliAuto
Video tutorial
Related tutorials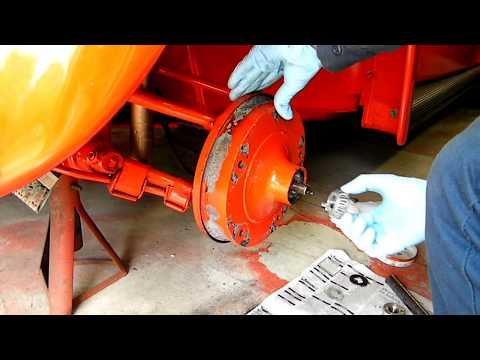
Volkswagen Maggiolino
(1938-1980 /
MK 1)
This video shows how to replace the wheel bearing on a Volkswagen Beetle. Lift the car on a ramp and remove the wheel corresponding to the bearing to…
Volkswagen Maggiolino
(1938-1980 /
MK 1)
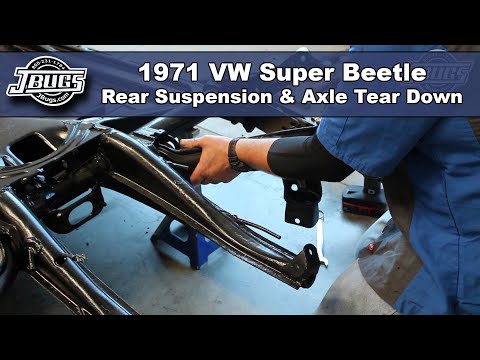
In today's video, we will see the main steps to remove and replace the rear suspension of the first series Volkswagen Beetle, also known as the Bug. …

Volkswagen Maggiolino
(1938-1980 /
MK 1)
In today's tutorial, you will see the main steps to remove and replace the speedometer cable on the first series Volkswagen Beetle (Bug) from 1970. F…
Other guides you may be interested in
|
How to Reset the Tyre Pressure Light on the Opel Grandland X
While driving, if you notice the tyre pressure warning light coming on, first check the actual inflation pressure of the tyres and, if necessary, restore the pressures recommended by the manufacturer. After restoring the correct pressures, you need to reset the warning light that has illuminated on the instrument cluster. To do this, locate the reset button on the lower central console. Press this button and hold it down for at least 3 seconds, after which the low pressure indication will turn off. by ScegliAuto More videos
|
|
For advertising on this site Write to info@scegliauto.com
ScegliAuto is not responsible for any inaccuracy of the data in the lists. To report any inaccuracy or your business (if you own the business in question), please write to info@scegliauto.com
Number of seconds to generate the page: 0.063
(c) ScegliAuto 2026 - info@scegliauto.com - Privacy policy VAT number: IT01247470535 |
