
|
Do it yourself
| |||
| ||||


Replacement of Interior Bulbs with LED Model
Model: Volkswagen Golf
MK 6, Golf VI, Golf 6, 5K1
- Years 2008-2012
Replacing the interior bulbs with LED ones will give the cabin a more technical and modern appearance. The operation is extremely simple and does not require special tools: a plastic lever is sufficient to detach the light units; start with the ceiling lights, first the front and then the rear: pry laterally and along the edges to detach it, remove the original bulbs (T5 fitting) and insert the LED ones, ensuring correct polarity (if it does not light up, remove it and rotate it 180°); reattach the light unit. Move on to the courtesy lights under the sun visor (driver and passenger side): detach the light unit and remove the bulb; insert the LED ones ensuring correct polarity (if it does not light up, remove it and rotate it 180°); reattach the light unit. Repeat the same operation for the bulb in the scuff plate area, on both the driver and passenger sides (be careful when removing the plastic cover of the bulb holder). Similarly, replace the bulb in the glove compartment (a screwdriver with a bent tip may be useful to detach the bulb holder).
Updated on 7 February 2026 by ScegliAuto
Video tutorial
Related tutorials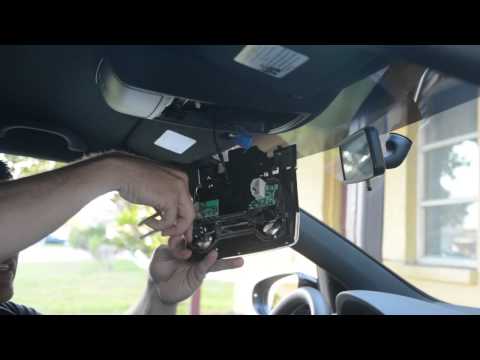
Volkswagen Golf
(2008-2012 /
MK 6, Golf VI, Golf 6, 5K1)
The tools needed for this replacement are simple plastic spatulas to detach the various light fittings. It is important to note that LED bulbs, unlik…
Volkswagen Golf
(2012-2019 /
Golf VII, MK 7, Golf 7)
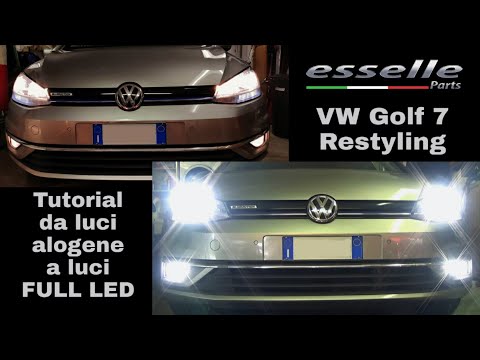
All bulbs are halogen except for the LED position bulbs. If you're interested, this video shows the conversion of all (yes, all) halogen bulbs to LED…

Volkswagen Golf
(2008-2012 /
MK 6, Golf VI, Golf 6, 5K1)
Replacing the bulbs of the number plate lights with LED type will give the vehicle a much more modern and appealing look, as well as significantly im…
Other guides you may be interested in
|
How to Set the Clock on the Opel Zafira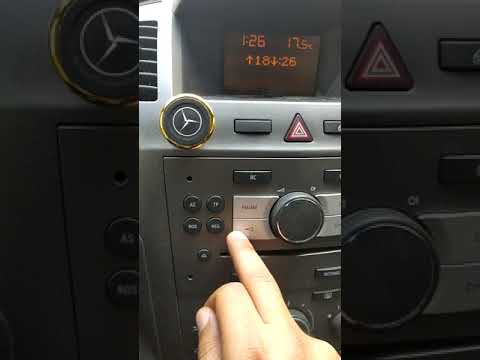
Setting the clock to the current Italian time on an Opel Zafira model B is a very simple operation, also made easier by our short instructional video. The first step is to turn on the instrument panel and then press the SETTING button located on the central dashboard. Once inside the menu, use the buttons to navigate to the clock setting. Adjust the hours and minutes and restart the instrument panel. If the clock does not update, it may be necessary to diagnose the radio or the vehicle's control unit. by ScegliAuto More videos
|
|
For advertising on this site Write to info@scegliauto.com
ScegliAuto is not responsible for any inaccuracy of the data in the lists. To report any inaccuracy or your business (if you own the business in question), please write to info@scegliauto.com
Number of seconds to generate the page: 0.093
(c) ScegliAuto 2026 - info@scegliauto.com - Privacy policy VAT number: IT01247470535 |
