
|
Do it yourself
| |||
| ||||


How to Replace the Fuel Filter on a Volkswagen Golf 7.
Model: Volkswagen Golf
Golf VII, MK 7, Golf 7
- Years 2012-2019
In this video tutorial, you will see how to replace the fuel filter on a Volkswagen Golf 7 by following simple steps. The first step is to purchase a new fuel filter. Get into the vehicle, switch off the car, and pull the handbrake; the next step is to pull the bonnet lever and lift the bonnet, securing it with the appropriate prop. Using a Torx key size 20, unscrew the cover of the filter box. Place a cloth around the fuel filter container as it may splash when opened; using a screwdriver, lift the cover. Now, remove the old fuel filter and place the new one, then reassemble all parts in reverse order.
Updated on 4 June 2026 by ScegliAuto
Video tutorial
Related tutorials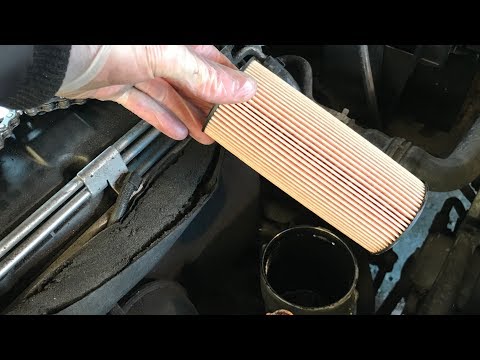
Volkswagen Golf
(1997-2003 /
Golf IV, MK 4, Golf 4)
Is the fuel filter due for replacement? Lift the bonnet and check where the fuel filter is located. Open the car door and pull up the engine compartm…

Volkswagen Golf
(2008-2012 /
MK 6, Golf VI, Golf 6, 5K1)
Learn how to remove and replace the diesel filter on a Volkswagen Golf 6. Open the car door and pull up the engine compartment release lever located …
Volkswagen Golf
(2003-2008 /
MK 5, Golf 5, Golf V)
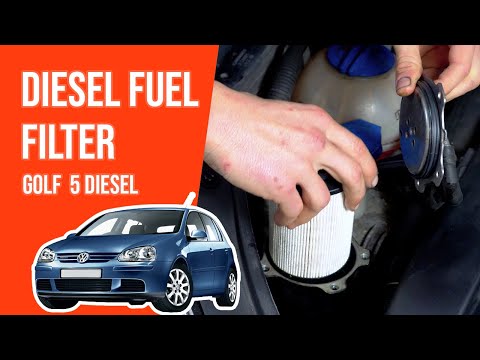
Today, we will see in this short and simple guide how to disassemble and replace the diesel filter of the Volkswagen Golf in easy and quick steps. Fi…
Other guides you may be interested in
|
Fuses Location and Diagram for the Volkswagen Crafter
In this guide, we will look at the location of the fuse boxes and how to find their diagram for the Volkswagen Crafter. First, get inside the vehicle and start by removing the plastic cover found under the steering wheel, to access the internal fuse box; you will find another fuse box in the engine compartment by removing the plastic cover located next to the battery. At this point, use the owner's manual to find the fuse diagram, which will allow you to identify and replace any blown fuses with new ones! by ScegliAuto More videos
|
|
For advertising on this site Write to info@scegliauto.com
ScegliAuto is not responsible for any inaccuracy of the data in the lists. To report any inaccuracy or your business (if you own the business in question), please write to info@scegliauto.com
Number of seconds to generate the page: 0.385
(c) ScegliAuto 2026 - info@scegliauto.com - Privacy policy VAT number: IT01247470535 |
