
|
Do it yourself
| |||
| ||||


How to Replace the Remote Battery of the Volkswagen Touran
Model: Volkswagen Touran
5T, MK 2
- Years 2015-2024
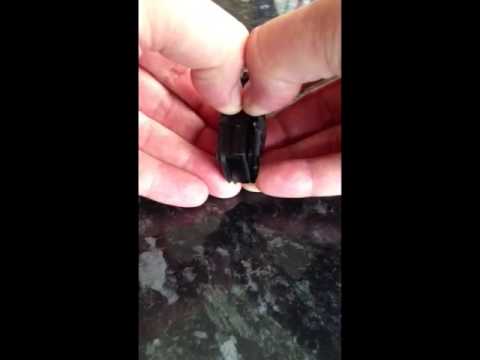
To replace the battery of the Volkswagen Touran remote, first, release the key from its housing by pressing the appropriate button. In the video, a 1 euro coin is used, but you can also use a small flat screwdriver. Insert the coin or screwdriver into the key slot and lever upwards to remove the cover located under the Volkswagen emblem. Once the cover is removed, use a small flat screwdriver to insert it into the designated slot and lever upwards from beneath the battery to remove it. Take the new battery, insert it in the same way as the old battery (with the + sign facing up) until you hear a click, replace the cover until you hear a click, and you can then put the key back in its housing by pressing the appropriate button.
Updated on 19 June 2026 by ScegliAuto
Video tutorial
Related tutorials
Volkswagen Touran
(2003-2015 /
MK 1, 1T)
In this video, we will see how to disassemble and replace the battery of the key remote for a first-generation Volkswagen Touran. First, take your re…
Volkswagen Touran
(2003-2015 /
MK 1, 1T)
In this tutorial, you will see how to replace the remote battery on the Volkswagen Touran, a very simple and quick operation. You will need a small f…

Volkswagen Touran
(2015-2024 /
5T, MK 2)
Below we will discover the steps to disassemble and replace the battery of the key remote for the Volkswagen Touran. First, take the remote in hand a…
Other guides you may be interested in
|
How to Remove the Front Bumper of the Citroën C4 Picasso?
To remove the front bumper of the Citroën C4 Picasso, you need to take out all the rivets and screws that secure the piece to its housing: these screws are located inside the wheel arches of the front wheels and at the central upper part of the bumper itself. Once all these fastening elements have been removed, you can detach the bumper from its seat by disconnecting the connectors inside and then insert the new replacement part. The new part can then be secured and connected properly, ensuring it is correctly fixed in place. by ScegliAuto More videos
|

|
For advertising on this site Write to info@scegliauto.com
ScegliAuto is not responsible for any inaccuracy of the data in the lists. To report any inaccuracy or your business (if you own the business in question), please write to info@scegliauto.com
Number of seconds to generate the page: 0.184
(c) ScegliAuto 2026 - info@scegliauto.com - Privacy policy VAT number: IT01247470535 |
