
|
Do it yourself
| |||
| ||||


Volkswagen New Beetle - Video tutorial
Model: Volkswagen New Beetle
MK 2, 9C
- Years 1999-2012 Wear of the gearshift gaiter is a fairly recurring defect very often accelerated by the action of any car wash detergents: replacing it is however very simple as is buying a new one in the after market at very reasonable costs; to carry out the replacement it is necessary to equip yourself with a pincer to be able to remove the metal fixing band. Then unhook the cap from the base, fold it upwards in order to access the metal clamp and cut it; then remove the cap complete with knob, insert the new clamp then the cap and press the knob as far as it will go, position the clamp under the knob and squeeze it with the pincer so that it can be firmly fixed; finally, hang up the headset to the frame of the central tunnel.
Posted on 17 August 2023 by ScegliAuto
 How to remove the gearshift gaiter on Volkswagen New Beetle
Volkswagen New Beetle (1999-2012 / MK 2, 9C) Let's see how to remove the leather boot placed under the gear shift knob on Volkswagen? Let's see how to do it in this video: first remove the frame  How to fit the Volkswagen New Beetle gearshift bushing
Volkswagen New Beetle (1999-2012 / MK 2, 9C) In this video tutorial we will see how to install the Volkswagen New Beetle gear lever bushing, in simple and quick steps. First we get on board the 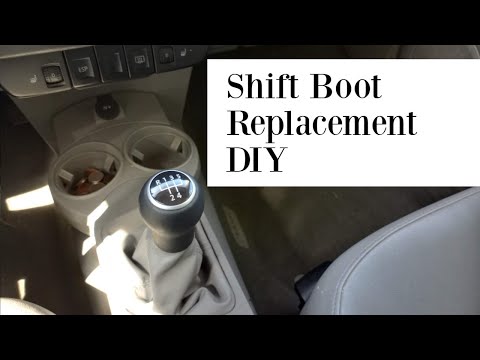 Remove the New Beetle gear knob
Volkswagen New Beetle (1999-2012 / MK 2, 9C) Do we want to remove the knob of the New Beetle? Let's see the disassembly of the damaged piece and the assembly of the new one. We disconnect the fr Other guides that may interest you
|
How do I replace the Land Rover Evoque auxiliary battery?
In order to replace the auxiliary battery of the Land Rover Evoque, it is necessary to go inside the passenger compartment and remove the panel which is positioned immediately under the glovebox. Once the screws that secure this panel have been loosened, it will be possible to access the components located in its rear part, including the auxiliary battery. The latter must be disconnected from its cables and the fixing screws must be loosened. The battery can then be replaced with a new one and the panel can be fixed again with its screws. by ScegliAuto More videos
|
|
For advertising on this site Write to info@scegliauto.com
ScegliAuto is not responsible for any inaccuracy of the data in the lists. To report any inaccuracy or your business (if you own the business in question), please write to info@scegliauto.com
Number of seconds to generate the page: 0.028
(c) ScegliAuto 2024 - info@scegliauto.com - Privacy Policy VAT number: IT01247470535 |