
|
Do it yourself
| |||
| ||||


Instructions for Cabin Sanitisation
Model: Volkswagen Golf
Golf IV, MK 4, Golf 4
- Years 1997-2003
When replacing the cabin filter, it is always advisable to sanitise the cabin with a specific germicidal spray that not only disinfects the cabin but also fragrances it, preventing the typical unpleasant odour that emanates from the air vents when the air conditioning is first turned on. This occurs because condensation forms in the air ducts, leading to the growth of smelly mould. A great solution is to use the sanitising spray with a nozzle that can be inserted deep into each air vent while holding down the spray trigger during the withdrawal of the nozzle.
Updated on 19 February 2026 by ScegliAuto
Video tutorial
Related tutorials
Volkswagen Golf
(1997-2003 /
Golf IV, MK 4, Golf 4)
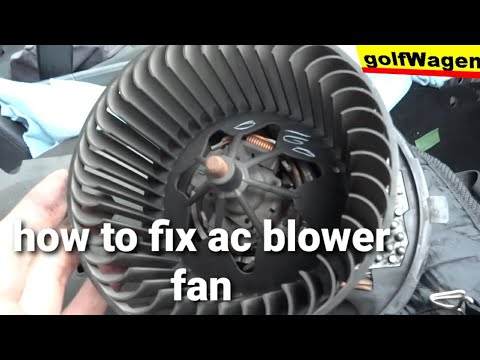
In this guide, we will go through the instructions that will allow us to disassemble and replace the cabin fan of the Volkswagen Golf. First, we get …
Volkswagen Golf
(2003-2008 /
MK 5, Golf 5, Golf V)
Below are the necessary instructions for removing and replacing the cabin fan from the Volkswagen Golf. First, get into the vehicle and start by remo…
Volkswagen Golf
(2008-2012 /
MK 6, Golf VI, Golf 6, 5K1)
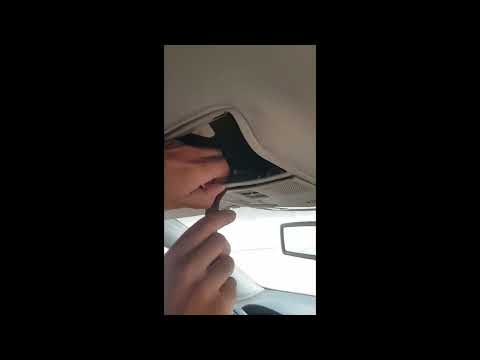
Today's guide will show you the instructions on how to dismantle and replace the interior light bulb of the Volkswagen Golf's ceiling light. First, g…
Other guides you may be interested in
|
Frequently Asked QuestionsHow to Connect the Cables to the Battery of the Citroen Xsara Picasso?
In this tutorial, you will see how to connect the cables to the battery of the Citroen Xsara Picasso, useful if you need to recharge it or perform an emergency start. First, ensure the key is not inserted, then open the bonnet and move to the front of the left headlamp. Next, locate the bolt just behind the filter box and connect the positive terminal clamp to it. Now you can connect the negative terminal to any point on the chassis, such as the indicated point. Once the operation is complete, ensure you disconnect the negative first and then the positive. by ScegliAuto More videos
|
|
For advertising on this site Write to info@scegliauto.com
ScegliAuto is not responsible for any inaccuracy of the data in the lists. To report any inaccuracy or your business (if you own the business in question), please write to info@scegliauto.com
Number of seconds to generate the page: 0.056
(c) ScegliAuto 2026 - info@scegliauto.com - Privacy policy VAT number: IT01247470535 |
