
|
Do it yourself
| |||
| ||||


Timing Belt Replacement Procedure
Model: Volkswagen Polo
MK IV, Polo IV, Polo 4, MK 4, 9N
- Years 2001-2009
Remove the engine cover. Remove the belt cover. Bring the engine to top dead centre. Move the coolant reservoir (it does not need to be emptied). Remove the ACF valve solenoid. Set these items aside. Insert the engine support bar. Remove the three 16mm bolts from the top of the engine. Remove the four 13mm bolts that secure the plate. Remove the four 16mm bolts from the support. Remove the 10mm bolt. Mark the direction of rotation of the auxiliary belt. Release the tensioner and remove the auxiliary belt. Use the special tool 3415 to lock the pulley and remove the 22mm nut that holds it in place. Remove the tool and reattach the bolt to prevent it from falling. Remove the tensioner pulley (13mm). Remove the two 10mm bolts from the belt cover. Release the two springs of the cover. Mark the position of the lower engine pulley. Using the special tool T10016, lock both pulleys. Carefully mark their position and remove the belt. Release the primary tensioner (13mm). Remove the second tensioner (13mm) and the two tensioners above and below (16mm). Remove the tool and take out the second belt. After removing the belts, check that the pulleys are not worn. Align the pulleys to the marks and install the new belt using the tool T10016 and lock the cams again. Reassemble everything in reverse order.
Updated on 2 February 2026 by ScegliAuto
Video tutorial
Related tutorials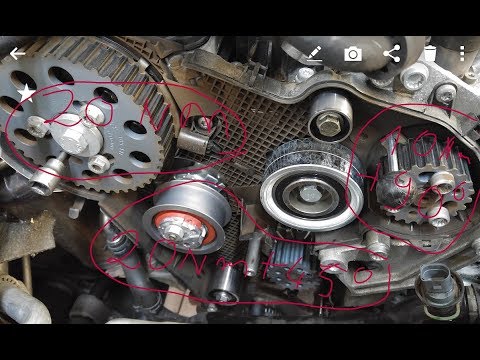
Volkswagen Polo
(2001-2009 /
MK IV, Polo IV, Polo 4, MK 4, 9N)
This guide provides the necessary instructions on how and when to replace the timing belt on a Volkswagen Polo 1.2 3-cylinder engine. For this type o…
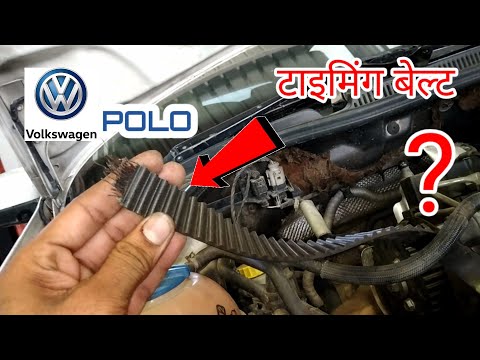
Volkswagen Polo
(2001-2009 /
MK IV, Polo IV, Polo 4, MK 4, 9N)
Start by opening the bonnet to access the engine bay. Next, remove the upper engine cover by unscrewing the bolts that secure it. This will give you …
Volkswagen Polo
(2009-2017 /
Polo 5, Polo V, MK 5, MK V, 6R)
The timing belt is a crucial component for engine safety and longevity, as it transmits motion from the crankshaft to the camshaft, maintaining synch…
Other guides you may be interested in
|
How to Reset the Tyre Pressure Light on the Opel Grandland X
While driving, if you notice the tyre pressure warning light coming on, first check the actual inflation pressure of the tyres and, if necessary, restore the pressures recommended by the manufacturer. After restoring the correct pressures, you need to reset the warning light that has illuminated on the instrument cluster. To do this, locate the reset button on the lower central console. Press this button and hold it down for at least 3 seconds, after which the low pressure indication will turn off. by ScegliAuto More videos
|
|
For advertising on this site Write to info@scegliauto.com
ScegliAuto is not responsible for any inaccuracy of the data in the lists. To report any inaccuracy or your business (if you own the business in question), please write to info@scegliauto.com
Number of seconds to generate the page: 0.239
(c) ScegliAuto 2026 - info@scegliauto.com - Privacy policy VAT number: IT01247470535 |
