
|
Do it yourself
| |||
| ||||


How to Adjust the Handbrake on a Volkswagen Golf
Model: Volkswagen Golf
MK 6, Golf VI, Golf 6, 5K1
- Years 2008-2012
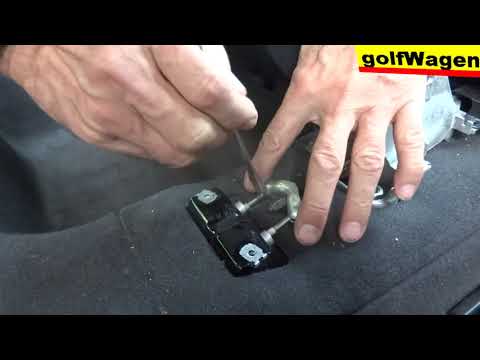
Today's guide will illustrate the steps necessary to adjust the travel of the handbrake lever on a Volkswagen Golf. Before adjusting the handbrake lever, ensure that the rear brake pads or shoes are in good condition; then get in the vehicle and begin removing the centre console by unscrewing the securing screw, as shown in the video. Underneath, you will find the handbrake lever adjuster, which you will tighten with a spanner to pull the handbrake cable; perform several tests until you achieve the optimal result!
Updated on 13 August 2026 by ScegliAuto
Video tutorial
Related tutorials
Volkswagen Golf
(2008-2012 /
MK 6, Golf VI, Golf 6, 5K1)
In order to adjust the handbrake of the Volkswagen Golf, you need to turn on the instrument panel by turning the key in the ignition switch: once the…
Volkswagen Golf
(2003-2008 /
MK 5, Golf 5, Golf V)
To adjust the handbrake on a Volkswagen Golf, loosen the screws that secure the plastic cover of the centre tunnel. Once these three screws are loose…

Volkswagen Golf
(2003-2008 /
MK 5, Golf 5, Golf V)
It will be possible to adjust the handbrake of the Volkswagen Golf by loosening the screws that secure the panel covering the central tunnel, located…
Other guides you may be interested in
|
Frequently Asked QuestionsWhere is the Spare Wheel in the Peugeot 5008?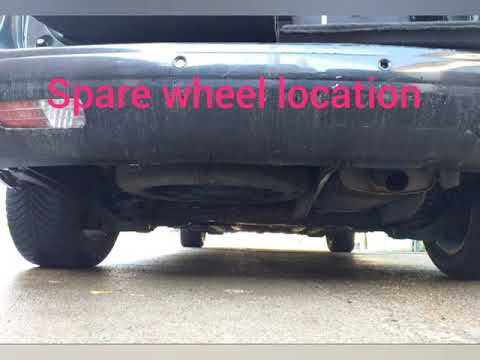
This video shows where the spare wheel is located in the Peugeot 5008 and how to access it, useful in case of a puncture. As shown, the wheel is not in the usual boot compartment but underneath it, outside the vehicle. To free the wheel, first gather the tools provided, then open the boot, locate the small indicated hatch, and open it. Next, loosen the bolt just released using the large socket wrench enough to lower the wheel to the ground. by ScegliAuto More videos
|
For advertising on this site Write to info@scegliauto.com
ScegliAuto is not responsible for any inaccuracy of the data in the lists. To report any inaccuracy or your business (if you own the business in question), please write to info@scegliauto.com
Number of seconds to generate the page: 0.064
(c) ScegliAuto 2026 - info@scegliauto.com - Privacy policy VAT number: IT01247470535 |
