
|
Do it yourself
| |||
| ||||


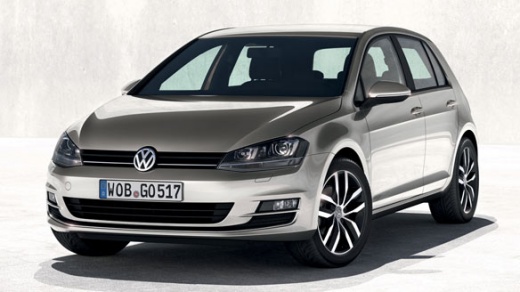
How to Change the Front Brake Pads on a Volkswagen Golf
Model: Volkswagen Golf
MK 7, Golf 7, Golf VII
- Years:
2012, 2013, 2014, 2015, 2016, 2017, 2018, 2019
Video tutorial
On the Volkswagen Golf, start by preparing the materials and showing the new brake pads. Before working on the caliper, pay attention to the bonnet, as retracting the piston can change the brake fluid level, so keep everything under control. Next, move to the front wheel: on the Volkswagen Golf, loosen the bolts, then lift the car with a jack and secure it on axle stands. With the wheel removed, the brake assembly is fully visible, and the front caliper is clearly in view. The caliper is then unbolted and removed from its position to access the brake pads. In the central step, the caliper is handled manually, and the details of the components being removed are shown until the old pads are freed and taken out of their seat. Before fitting the new ones, on the Volkswagen Golf, retract the piston to create the necessary space for the thickness of the newly fitted pads. Once the new pads are inserted into their seat, reposition the caliper and secure it with its fastenings. The work on the Volkswagen Golf concludes with remounting the wheel and tightening the bolts, leaving the system ready for final checks before returning to the road.
Posted on 13 August 2026 by ScegliAuto
Related tutorials
Volkswagen Golf
(1997-2003 /
Golf IV, Golf 4, MK 4)
To replace the front brake pads on a Volkswagen Golf 4, safely lift the vehicle and remove the affected wheel. Next, unscrew the bolts securing the b…
Volkswagen Golf
(2008-2012 /
Golf 6, MK 6, 5K1, Golf VI)
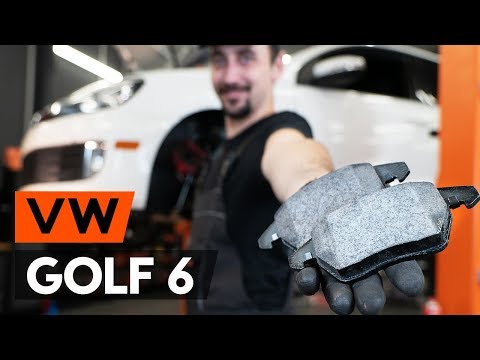
In this video, learn how to replace the front brake pads on a sixth-generation Volkswagen Golf, specifically a GTI version. First, remove the wheel b…
Volkswagen Golf
(2003-2008 /
Golf 5, MK 5, Golf V)
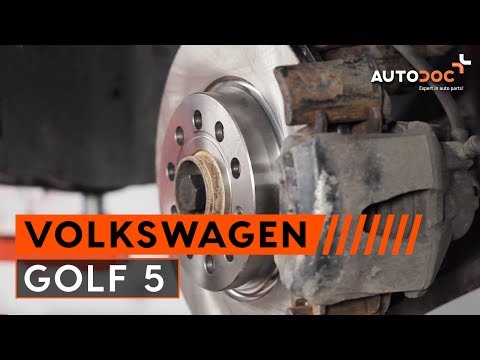
Here’s how to change the front brake discs on a Volkswagen Golf V. First, lift the vehicle; do not rely on your jack, use a hydraulic jack and two ax…
Other guides you may be interested in
|
How to reset the tyre pressure warning light on the Kia Niro EV?
To reset the tyre pressure warning light on the Kia Niro EV, inflate the tyres until they reach the correct pressure value. This value is indicated on the sticker attached to the driver's door pillar. Once the tyres are inflated, turn on the instrument cluster to check that the warning light has completely disappeared from the display. If it is still present, you may need to drive for a few miles to ensure it disappears completely from the screen. by ScegliAuto More videos
|
|
For advertising on this site Write to info@scegliauto.com
ScegliAuto is not responsible for any inaccuracy of the data in the lists. To report any inaccuracy or your business (if you own the business in question), please write to info@scegliauto.com
Number of seconds to generate the page: 0.075
(c) ScegliAuto 2026 - info@scegliauto.com - Privacy policy VAT number: IT01247470535 |
