
|
Do it yourself
| |||
| ||||


How to change the rear brake pads on a Volkswagen Golf
Model: Volkswagen Golf
MK 5, Golf 5, Golf V
- Years 2003-2008
On the Volkswagen Golf, we start by showing the materials and the new pads, then we move straight to the car: lift the rear and work on one wheel, loosening the bolts and removing the wheel to expose the caliper and disc. Once at the rear brake assembly of the Volkswagen Golf, work on the caliper: the video shows the tools in action on the fixings, and the caliper is released to access the pads. Once the space is opened, remove the old pads from their seat. Before refitting the new pads on the Volkswagen Golf, manage the retraction of the caliper piston to create the necessary space for the thickness of the newly fitted pads. Meanwhile, clean and prepare the contact surfaces, then position the new pads in the same location as the previous ones and reposition the caliper, securing the fixings. In the final stage on the Volkswagen Golf, refit the wheel and conclude the job with practical checks: everything should be in place, with no play, and before setting off, it is good practice to restore the brake pedal travel with the vehicle stationary, so the system returns to its proper position.
Posted on 13 August 2026 by ScegliAuto
Video tutorial
Related tutorials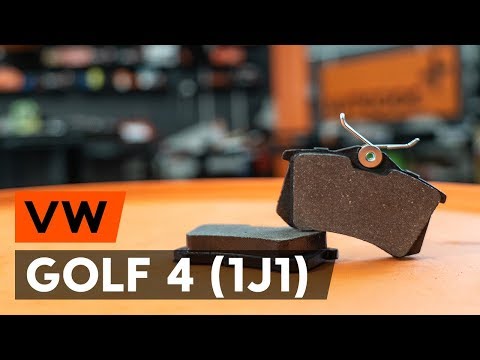
Volkswagen Golf
(1997-2003 /
Golf IV, MK 4, Golf 4)
This brief video tutorial shows how to replace the rear brake pads on a fourth-generation Volkswagen, produced from 1997 to 2003. Start by lifting th…

Volkswagen Golf
(2012-2019 /
Golf VII, MK 7, Golf 7)
Follow the steps to remove and replace the rear brake pads on a Volkswagen Golf as outlined below. First, raise the vehicle; then, undo the bolts sec…
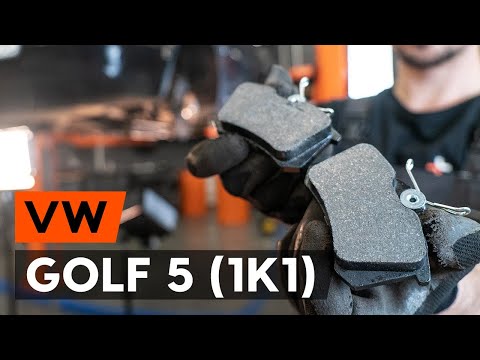
Volkswagen Golf
(2003-2008 /
MK 5, Golf 5, Golf V)
In this video tutorial, you will learn how to replace the rear brake pads on a Volkswagen Golf Mk5. First, remove the rear wheel bolts and take off t…
Other guides you may be interested in
|
How to Connect the Cables to the Battery of the Citroen Xsara Picasso?
In this tutorial, you will see how to connect the cables to the battery of the Citroen Xsara Picasso, useful if you need to recharge it or perform an emergency start. First, ensure the key is not inserted, then open the bonnet and move to the front of the left headlamp. Next, locate the bolt just behind the filter box and connect the positive terminal clamp to it. Now you can connect the negative terminal to any point on the chassis, such as the indicated point. Once the operation is complete, ensure you disconnect the negative first and then the positive. by ScegliAuto More videos
|
|
For advertising on this site Write to info@scegliauto.com
ScegliAuto is not responsible for any inaccuracy of the data in the lists. To report any inaccuracy or your business (if you own the business in question), please write to info@scegliauto.com
Number of seconds to generate the page: 0.140
(c) ScegliAuto 2026 - info@scegliauto.com - Privacy policy VAT number: IT01247470535 |
