
|
Do it yourself
| |||
| ||||


How to Replace the Headlining of the Volkswagen Golf
Model: Volkswagen Golf
MK 5, Golf 5, Golf V
- Years 2003-2008
The procedure for replacing the headlining of the Volkswagen Golf involves using a tool like a screwdriver to pry off the courtesy light fixture. Then, you can unscrew the screws that secure the handles and subsequently detach all the door pillars. This will allow you to remove the headlining at all its points, enabling you to extract the old covering from the rear of the car by opening the tailgate. You can then insert the new replacement part and secure it properly.
Updated on 14 August 2026 by ScegliAuto
Video tutorial
Related tutorials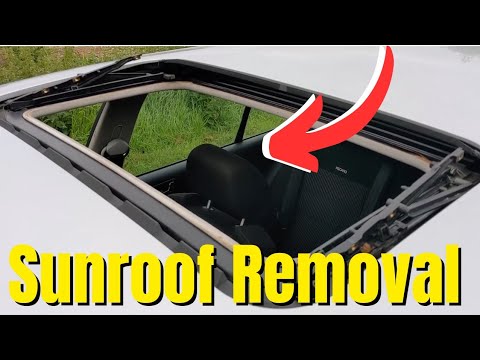
Volkswagen Golf
(1997-2003 /
Golf IV, MK 4, Golf 4)
To remove the panoramic roof of the Volkswagen Golf, you need to lever with an object to detach the trims that surround the roof perimeter: beneath t…

Volkswagen Golf
(1997-2003 /
Golf IV, MK 4, Golf 4)
Today we will discover the instructions that will allow us to disassemble and replace the panoramic roof of the Volkswagen Golf. First, we get on boa…

Volkswagen Golf
(2003-2008 /
MK 5, Golf 5, Golf V)
In this brief guide, follow the steps to remove and replace the interior light fitting and bulbs of the Volkswagen Golf. First, get inside the vehicl…
Other guides you may be interested in
|
Frequently Asked QuestionsHow to Reset the Tyre Pressure Light on the Opel Grandland X
While driving, if you notice the tyre pressure warning light coming on, first check the actual inflation pressure of the tyres and, if necessary, restore the pressures recommended by the manufacturer. After restoring the correct pressures, you need to reset the warning light that has illuminated on the instrument cluster. To do this, locate the reset button on the lower central console. Press this button and hold it down for at least 3 seconds, after which the low pressure indication will turn off. by ScegliAuto More videos
|
|
For advertising on this site Write to info@scegliauto.com
ScegliAuto is not responsible for any inaccuracy of the data in the lists. To report any inaccuracy or your business (if you own the business in question), please write to info@scegliauto.com
Number of seconds to generate the page: 0.070
(c) ScegliAuto 2026 - info@scegliauto.com - Privacy policy VAT number: IT01247470535 |
