
|
Do it yourself
| |||
| ||||


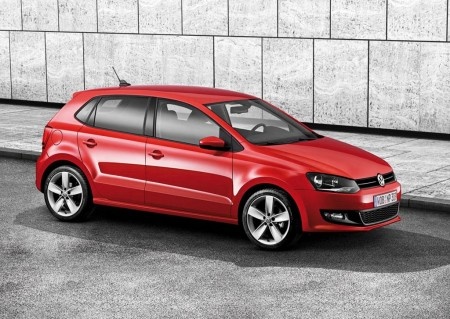
How to Remove a Button from the Centre Console of a Volkswagen Polo?
Model: Volkswagen Polo
6R, MK V, Polo 5, Polo V, MK 5
- Years:
2009, 2010, 2011, 2012, 2013, 2014, 2015, 2016, 2017
Video tutorial
Good morning, today’s goal is to remove the button from the centre console of a Volkswagen Polo. Start by sitting in the driver's seat of the car. Next, remove the centre tunnel by opening the ashtray and unscrewing the fixing screws. Once done, unclip and remove the cover around the car's radio, then remove the radio itself. At this point, you will have access to the inner side of the button to be removed. Proceed by pushing and pulling out the button, and you will have completed the removal procedure.
Updated on 14 September 2026 by ScegliAuto
Related tutorials
Volkswagen Polo
(2001-2009 /
MK IV, Polo 4, 9N, MK 4, Polo IV)
This video shows how to easily and quickly remove and install the centre console of a 2006 Volkswagen Polo. First, unclip and remove the plastic trim…
Volkswagen Polo
(2001-2009 /
MK IV, Polo 4, 9N, MK 4, Polo IV)
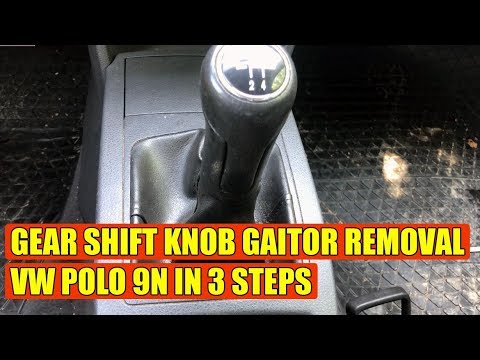
Replace the gear knob on a Volkswagen Polo. Remove it if damaged or if you want to replace it with another. Use a plastic lever to disconnect the lea…

Volkswagen Polo
(2001-2009 /
MK IV, Polo 4, 9N, MK 4, Polo IV)
Replace the gear gaiter and knob if they are damaged, here's how. Use a plastic lever to disconnect the leather gaiter frame, cut the fastening strap…
Other guides you may be interested in
|
How to Replace the Glow Plugs in the Fiat Ducato 2.3 Multijet?
Glow plugs, as the name suggests, raise the temperature of the engine in diesel vehicles to allow for easier starting. The manufacturer, in this case, Fiat for the Ducato 2.3 Multijet, specifies how often they should be replaced, and a warning light will illuminate when it's time. This work is carried out under the bonnet. First, remove the upper engine cover, then lift the coil and, using a socket wrench of the appropriate size, unscrew the glow plug to remove it from the base, followed by installing the new one. by ScegliAuto More videos
|
|
For advertising on this site Write to info@scegliauto.com
ScegliAuto is not responsible for any inaccuracy of the data in the lists. To report any inaccuracy or your business (if you own the business in question), please write to info@scegliauto.com
Number of seconds to generate the page: 0.034
(c) ScegliAuto 2026 - info@scegliauto.com - Privacy policy VAT number: IT01247470535 |
