
|
Do it yourself
| |||
| ||||


Volkswagen Vento Years 1991-1998 (MK 1, A3) Volkswagen Vento (1991-1998 / A3, MK 1)
How to Replace the Engine Air Filter on a Volkswagen Vento If you plan to replace the engine air filter on your first-generation Volkswagen Vento yourself, simply follow this guide step by step. First, purchase a new …Read all… Posted on 24 August 2026 by ScegliAuto  Volkswagen Vento (1991-1998 / A3, MK 1)
Location and Diagram of the Fuse Boxes of the Volkswagen Vento MK1 This video shows the location and diagram of the fuse boxes and relays of the Volkswagen Vento MK1 produced between 1991 and 1998: The fuse box is located only …Read all… Posted on 20 May 2026 by ScegliAuto  Volkswagen Vento (1991-1998 / A3, MK 1)
Where are the fuses located in the Volkswagen Vento? Inside the Volkswagen Vento, all fuses are contained within the only fuse box installed on the vehicle: in this type of car, the box is located in the …Read all… Posted on 11 May 2024 by ScegliAuto  Volkswagen Vento (1991-1998 / A3, MK 1)
How to Know the Fuse Diagrams for a Volkswagen Vento This video shows you how to locate the fuse boxes and understand their assignment diagrams in a Volkswagen Vento produced from 1992 to 1999. You can find the …Read all… Posted on 3 August 2026 by ScegliAuto  Volkswagen Vento (1991-1998 / A3, MK 1)
How to Change the Battery on a Volkswagen Vento If you need to replace the battery on this car model, the following description provides step-by-step instructions for a safe replacement. After accessing the …Read all… Posted on 27 July 2026 by ScegliAuto  Volkswagen Vento (1991-1998 / A3, MK 1)
How to Reset the Service Light on a Volkswagen Vento If you notice that the maintenance light (depicted with a small spanner) continues to flash when you turn on the instrument cluster of your Volkswagen Vento, …Read all… Posted on 22 July 2026 by ScegliAuto  Volkswagen Vento (1991-1998 / A3, MK 1)
How to Replace the Heating Radiator on a Volkswagen Vento? To replace the heating radiator on a Volkswagen Vento, you need to completely dismantle the dashboard to access the components inside. Start by removing the …Read all… Posted on 19 July 2026 by ScegliAuto  Volkswagen Vento (1991-1998 / A3, MK 1)
How to Replace the Air Filter in a Volkswagen Vento In this tutorial, we will see how to replace the air filter in a Volkswagen Vento, a very simple and economical operation. First, ensure the engine is …Read all… Posted on 24 July 2026 by ScegliAuto 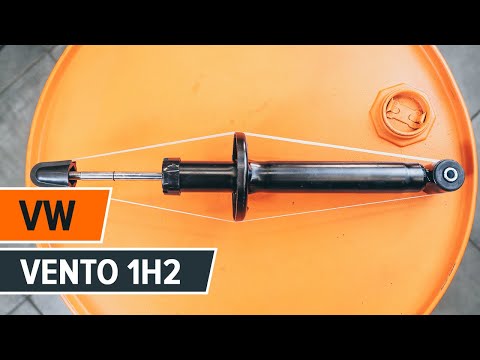 Volkswagen Vento (1991-1998 / A3, MK 1)
Rear Shock Absorber Replacement Replacing the rear shock absorber is significantly easier than the front one since the damper and spring are co-axial and there is no need for special clamps …Read all… Posted on 27 February 2026 by ScegliAuto 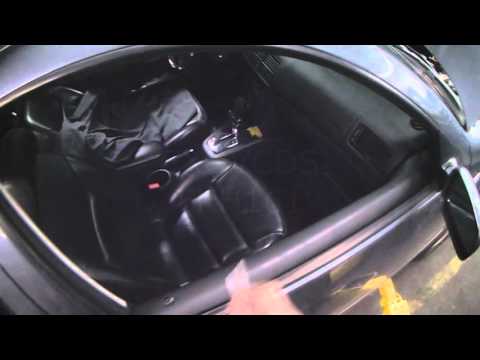 Volkswagen Vento (1991-1998 / A3, MK 1)
Lock Switch Functionality Check If the interior lights remain on when you lock the vehicle with the remote key (or directly with the mechanical key), it is likely that a lock is not …Read all… Posted on 20 February 2026 by ScegliAuto  Volkswagen Vento (1991-1998 / A3, MK 1)
Replacement of Front Shock Absorbers Position the vehicle on a lift and, after opening the bonnet, spray some penetrating oil on the nut securing the shock absorber shaft; then proceed to remove …Read all… Posted on 15 February 2026 by ScegliAuto 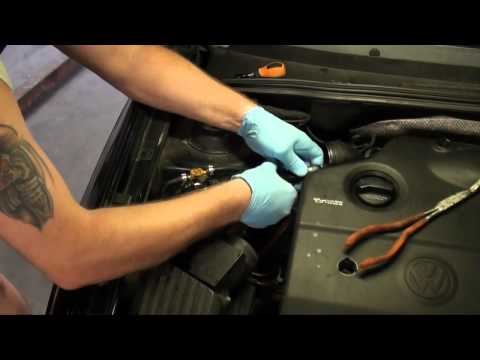 Volkswagen Vento (1991-1998 / A3, MK 1)
Dismantling and Replacing the Diesel Filter The diesel filter is located at the front right, between the shock absorber mount and the air filter housing. For convenience, it is advisable to remove the …Read all… Posted on 5 February 2026 by ScegliAuto |
How to Connect the Cables to the Battery of the Citroen Xsara Picasso?
In this tutorial, you will see how to connect the cables to the battery of the Citroen Xsara Picasso, useful if you need to recharge it or perform an emergency start. First, ensure the key is not inserted, then open the bonnet and move to the front of the left headlamp. Next, locate the bolt just behind the filter box and connect the positive terminal clamp to it. Now you can connect the negative terminal to any point on the chassis, such as the indicated point. Once the operation is complete, ensure you disconnect the negative first and then the positive. by ScegliAuto More videos
|
|
For advertising on this site Write to info@scegliauto.com
ScegliAuto is not responsible for any inaccuracy of the data in the lists. To report any inaccuracy or your business (if you own the business in question), please write to info@scegliauto.com
Number of seconds to generate the page: 0.007
(c) ScegliAuto 2026 - info@scegliauto.com - Privacy policy VAT number: IT01247470535 |
