
|
Do it yourself
| |||
| ||||


How to change the battery of the Volvo XC40 key.
Model: Volvo Xc40
MK 1
- Years 2017-2026
To replace the battery and the shell of the Volvo XC40 key, work on a stable and clean surface to avoid losing small components. Start by extracting the emergency mechanical key from the back of the remote; this same key is used as a lever to open the back cover of the shell by inserting it into the designated slot and applying controlled pressure until it releases. Once the cover is removed, access the battery compartment and extract the button battery, paying attention to the orientation. Insert the new battery in the same orientation, ensuring it is well seated on the metal contacts. If the procedure also involves replacing the shell, gently remove the electronic board from the original shell and transfer it to the new shell, ensuring that buttons and housings align correctly. After positioning the electronics in the new shell, close the back cover by pressing along the entire perimeter until it clicks into place. Then, reinsert the emergency mechanical key into its slot. Finally, check that the remote buttons respond correctly and that the key is recognized by the car; if it does not work, check that the battery is inserted in the correct orientation and that the cover is completely closed without any gaps.
Posted on 11 January 2026 by ScegliAuto
Video tutorial
Related tutorials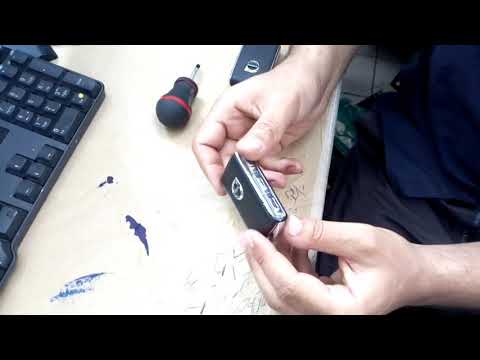
Volvo Xc40
(2017-2026 /
MK 1)
Start by pressing and holding the button located at the bottom of the key fob for your Volvo XC40, then remove the back cover of the key. Next, uncli…
Volvo Xc40
(2017-2026 /
MK 1)
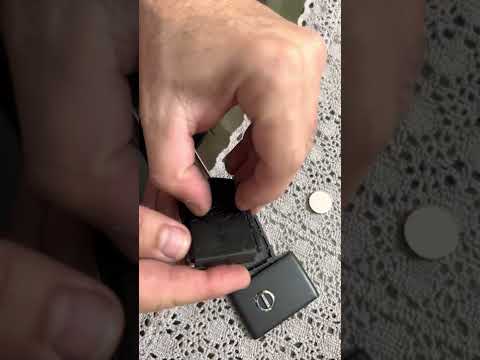
Today, with the help of this short video tutorial, follow these steps to replace the battery in the remote/key fob of the Volvo XC40. The first step …
Volvo Xc40
(2017-2026 /
MK 1)
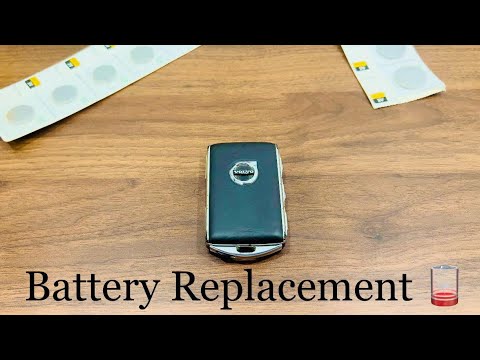
If the smart key of your Volvo XC40 (model years 2017-2022) suddenly stops working and the cause is a completely dead battery, just follow the instru…
Other guides you may be interested in
|
How to Open the Bonnet on the Lancia Y
To open the bonnet on this vehicle, follow these simple instructions: first, open the driver's door and locate the lever positioned just below the dashboard, marked with an image of the vehicle with the bonnet open. Pull this lever towards you until you hear a "click" indicating the bonnet is released. Next, exit the cabin and stand in front of the bonnet to disengage the safety catch and complete the opening. To do this, slightly lift the bonnet, locate the yellow lever underneath, and pull it to the left to fully release and open the bonnet. by ScegliAuto More videos
|

|
For advertising on this site Write to info@scegliauto.com
ScegliAuto is not responsible for any inaccuracy of the data in the lists. To report any inaccuracy or your business (if you own the business in question), please write to info@scegliauto.com
Number of seconds to generate the page: 0.809
(c) ScegliAuto 2026 - info@scegliauto.com - Privacy policy VAT number: IT01247470535 |
