
|
Do it yourself
| |||
| ||||


Instructions for Removing Wiper Blades
Model: Volvo S40
MK 1
- Years:
1995, 1996, 1997, 1998, 1999, 2000, 2001, 2002, 2003, 2004
Video tutorial
Before proceeding with the removal of the wiper arm, it is advisable to mark the orientation, or angle, of the wiper on the windscreen with masking tape, as the attachment on the control spindle does not have a fixed reference notch, but a generic spline. This solution will allow you to install the arm much more easily and accurately. Once the orientation of the wipers is marked, remove the protective cap from the fixing nut, unscrew the nut, and if the wiper does not come off due to corrosion, use a puller (it is helpful to spray some penetrating oil). During installation, clean the spindle of corrosion, then align the wiper with the reference made with the masking tape, fit it onto the control spindle, and tighten the nut: it is recommended to apply grease before putting on the cap to prevent new corrosion from forming.
Updated on 13 February 2026 by ScegliAuto
Related tutorials
Volvo S40
(1995-2004 /
MK 1)
Replacing the windscreen wiper blades is very straightforward and does not require special precautions: the only thing to consider is the length of t…
Volvo S40
(2004-2012 /
MK 2)
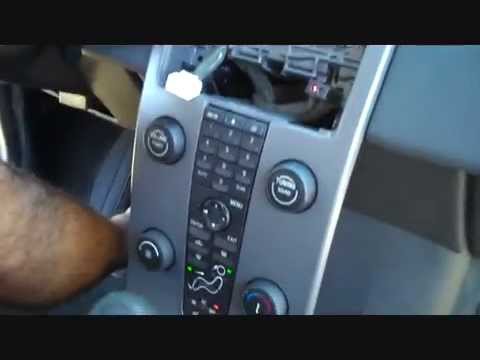
Disassembling the standard car radio is straightforward but requires some caution when removing the plastic parts that are secured with clips: it is …

Volvo S40
(1995-2004 /
MK 1)
To remove the rear light, you first need to remove some trim elements inside the boot: start by removing the luggage cover that lines the lower edge …
Other guides you may be interested in |
How to Remove the Rear Seat of a Hyundai Tucson?
To remove the rear seat of a Hyundai Tucson, follow these steps. Start by moving the front seats to their most forward position to gain space. Next, locate the release lever on the underside of the rear seat, near the floor. Press this lever down while pulling the seat upwards to unlock it from the anchor pins. Once unlocked, tilt the seat upwards and forwards to remove it from its position. Repeat this process for both sides of the rear seat. Be careful of any electrical cables or components that may be connected to the seat during removal. Once the rear seat is removed, the disassembly is complete. by ScegliAuto More videos
|
|
For advertising on this site Write to info@scegliauto.com
ScegliAuto is not responsible for any inaccuracy of the data in the lists. To report any inaccuracy or your business (if you own the business in question), please write to info@scegliauto.com
Number of seconds to generate the page: 0.008
(c) ScegliAuto 2026 - info@scegliauto.com - Privacy policy VAT number: IT01247470535 |
