
|
Do it yourself
| |||
| ||||


|
Technology has advanced significantly: we can understand the origin of a fault using modern diagnostic testers (provided by manufacturers, generally to businesses). These should be connected to the control unit via a specific connector, and by connecting to it, we can read the stored faults. Without going into too many unnecessary explanations, this video will illustrate how the tester works, followed by the repair of the fault. First, upon starting the car, personally check for abnormal sounds or irregular engine operation (when you notice the check engine light comes on). If you want confirmation or wish to clear that light and understand why it comes on, take the tester and connect it to the diagnostic port (usually located under the driver's seat, near the fuse box, but its location varies by model). Once you identify the problem, if clearing it from the control unit does not resolve it and it reappears upon subsequent diagnosis, take action: in this case, we will find that it is an issue with the injection pump, located under a plastic tube. Remove it and disconnect the pump, replace it carefully to avoid breaking the tubes by forcing their insertion. Test everything and redo the diagnosis; it should be corrected. Remember that it is better to perform an initial diagnosis, clear the error, and then redo it later, as sometimes the error in the control unit has been there for a long time.
Updated on 9 February 2026 by ScegliAuto
Video tutorial
Related tutorials
Audi A4
(2007-2016 /
B8)
All cars, which we once would have called modern, but in reality the OBD protocol has existed for some time, allow you to query various control units…
Audi A4
(2000-2004 /
B6)
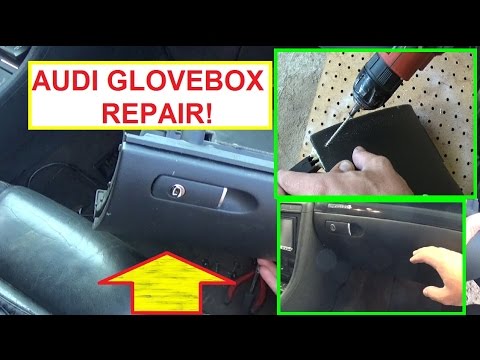
The breakage of the support hinges on the glove compartment door is a common defect in the Audi/Volkswagen family. The manufacturer's proposed soluti…
Audi A4
(2007-2016 /
B8)
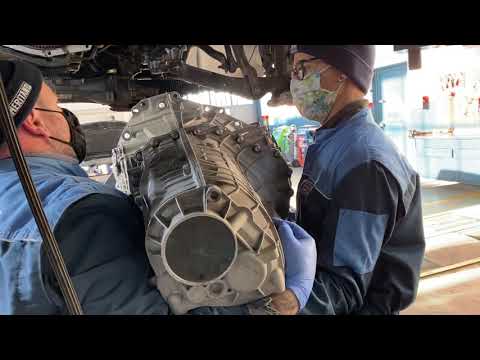
To remove the automatic transmission from an Audi A4, you must first remove the front suspension, the half shafts, and the catalytic converter. Other…
Other guides you may be interested in
|
How to Replace the Remote Battery for the Volvo XC40?
In this tutorial, you will see how to replace the battery in the remote for the Volvo XC40, a very simple and quick operation. For this, you will need a replacement battery of type CR2032 and possibly a small flathead screwdriver. First, remove the front cover by pressing the button on the metal ring, then locate the second button, press it as well, and remove the opposite cover. Next, open the circular cap, take out the old battery, and insert the new one in the opposite direction. Finally, reassemble everything. by ScegliAuto More videos
|
|
For advertising on this site Write to info@scegliauto.com
ScegliAuto is not responsible for any inaccuracy of the data in the lists. To report any inaccuracy or your business (if you own the business in question), please write to info@scegliauto.com
Number of seconds to generate the page: 0.522
(c) ScegliAuto 2026 - info@scegliauto.com - Privacy policy VAT number: IT01247470535 |
