
|
Do it yourself
| |||
| ||||


Disassembly and Replacement of Brake Rotors and Pads
Model: BMW Serie 3
E46
- Years:
1998, 1999, 2000, 2001, 2002, 2003, 2004, 2005, 2006
Video tutorial
Lift the vehicle on a hydraulic lift or on appropriate jack stands and remove the wheel corresponding to the repair area. To remove the rotor mounting bolt, block the rotor's rotation by inserting a screwdriver or an Allen wrench into one of the vent holes of the rotor and pressing it against the brake caliper: at this point, unscrew the rotor mounting bolt. Next, detach the retaining spring of the pads, remove the protective caps from the caliper mounting bolts, and unscrew the bolts to remove the caliper. Also remove the caliper support bolts and take it off along with the rotor. Clean the hub of any oxide residues and install the new rotor by tightening the corresponding mounting bolt. Using a clamp, retract the caliper piston to accommodate the new pads; reinstall the caliper support, place the new pads in the caliper, and tighten the corresponding mounting bolts; finally, reposition the retaining spring and the protective caps. Proceed in the same manner on the other wheels, ensuring to properly connect the wear sensor if present, securely fastening the corresponding cable.
Updated on 3 February 2026 by ScegliAuto
Related tutorials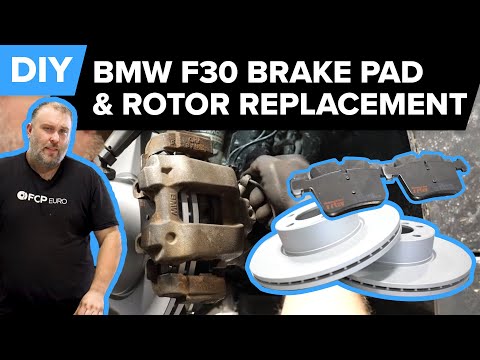
BMW Serie 3
(2012-2019 /
F31, F30)
In today's tutorial video, you will see how to disassemble and replace the front brake discs and pads on a BMW 3 Series F30 and F31, following the in…
BMW Serie 3
(2012-2019 /
F31, F30)
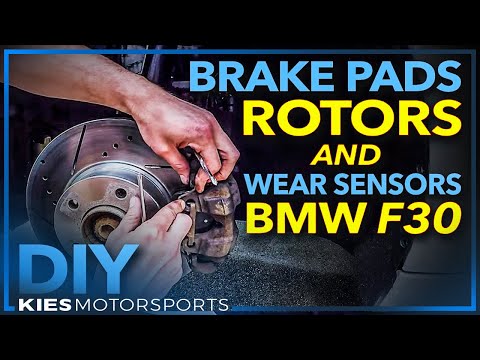
Are the brake pads worn out? Do you want to replace the rotor? Let's see how to disassemble the parts. Lift the car on a column lift, then remove the…
BMW Serie 3
(2005-2013 /
E92, E90, E91)
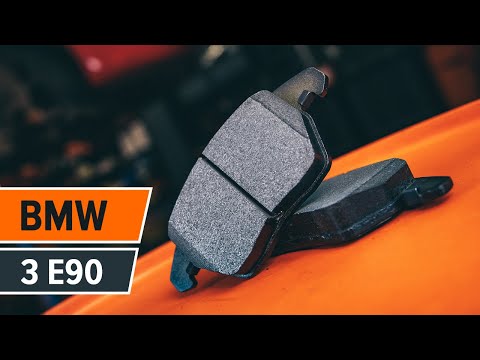
Learn how to change the brake discs and pads on the BMW 3 Series. Place the car on a lift and raise it to a working height. Remove the front wheel. U…
Other guides you may be interested in
|
How to Reset the Tire Pressure Light on a MG ZS?
On the instrument cluster of the MG ZS, the tire pressure light that appears can be reset by inflating the tires to the correct pressure: this value will be indicated on the sticker attached to the driver's door pillar. Once the tires have been properly inflated, you can turn on the instrument cluster and navigate through the menu until you find the option that indicates tire pressure: if this screen shows the new values, the light will turn off; otherwise, you will need to drive for a few miles so that the sensors can read the new values and turn off the light afterward. by ScegliAuto More videos
|
|
For advertising on this site Write to info@scegliauto.com
ScegliAuto is not responsible for any inaccuracy of the data in the lists. To report any inaccuracy or your business (if you own the business in question), please write to info@scegliauto.com
Number of seconds to generate the page: 0.023
(c) ScegliAuto 2026 - info@scegliauto.com - Privacy policy VAT number: IT01247470535 |
