
|
Do it yourself
| |||
| ||||


Replacing Front Brake Discs and Pads on BMW 3 Series
Model: BMW Serie 3
E91, E90, E92
- Years 2005-2013
Learn how to change the brake discs and pads on the BMW 3 Series. Place the car on a lift and raise it to a working height. Remove the front wheel. Using a screwdriver, remove the caliper retaining clip. After removing the protective caps, unscrew the two bolts that secure the caliper. Once removed, take out the old brake pads. Now, remove the two bolts that secure the caliper bracket and unscrew the bolt that secures the brake disc. Clean the hub surface and apply a thin layer of copper grease. Install the new disc and reattach the caliper bracket. Use the appropriate tool to retract the caliper piston, install the new brake pads, and mount the caliper onto its bracket. Reinsert the retaining clip and repeat the process on the other wheel.
Updated on 2 September 2026 by ScegliAuto
Video tutorial
Related tutorials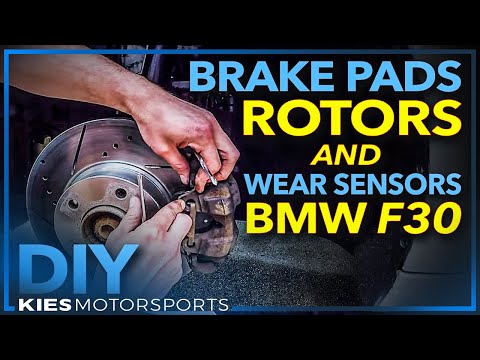
BMW Serie 3
(2012-2019 /
F30, F31)
Are the brake pads worn out? Do you want to replace the rotor? Let's see how to disassemble the parts. Lift the car on a column lift, then remove the…
BMW Serie 3
(2005-2013 /
E91, E90, E92)
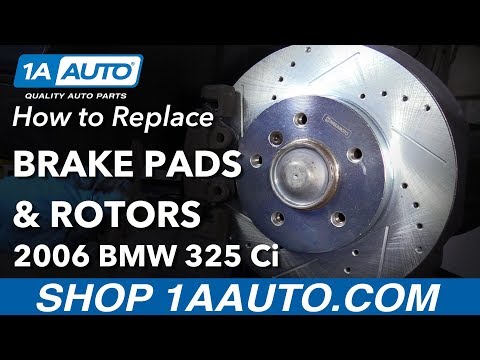
To replace the brake rotors on a BMW 3 Series, follow these steps: 1) Lift the vehicle. 2) Remove the wheel. 3) Remove the bolts securing the brake c…
BMW Serie 3
(2012-2019 /
F30, F31)
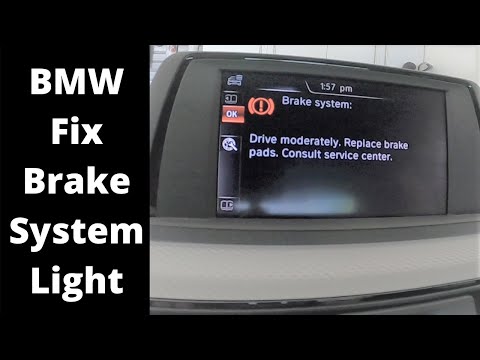
Follow these instructions to reset the brake pad wear warning light on a BMW 3 Series. After replacing the old brake pads, get in the vehicle and tur…
Other guides you may be interested in
|
How to Bleed the Clutch on a Renault Clio?
To bleed the clutch on a Renault Clio, open the bonnet to access the components located in the engine bay: here, you will need to undo the screws that secure the battery in its housing, the intake manifold, and the coolant reservoir. This will allow you to locate the pipe through which the brake fluid flows: by inserting the other end of the pipe into a container, you can press the clutch pedal to expel all the fluid until it fills the container. by ScegliAuto More videos
|
|
For advertising on this site Write to info@scegliauto.com
ScegliAuto is not responsible for any inaccuracy of the data in the lists. To report any inaccuracy or your business (if you own the business in question), please write to info@scegliauto.com
Number of seconds to generate the page: 0.385
(c) ScegliAuto 2026 - info@scegliauto.com - Privacy policy VAT number: IT01247470535 |
