
|
Do it yourself
| |||
| ||||


Rear Led Repair BMW X3 F25
Model: BMW X3
F25, MK 2
- Years 2010-2017
In the BMW X3 F25 it is a common problem to find yourself with the rear edger out of order, but do not worry, with a negligible expense you can cope with the problem. In reality it will be necessary to change only the card that controls the LEDs themselves, there are 4, one for each of the rear light groups, then check which of the LEDs does not work and then proceed with the disassembly of the light that presents the problem with the help of the video that I have attached. It is a very simple operation and that you can carry out in simple autonomy. To extract the side light, simply remove the plastic cover that you will see by opening the rear door and then unscrew the 2 nuts that will allow you to extract it, at this point pull away the lamp holder which is held in place, inside you will find this board where you will have to disconnect the connector and then reconnect it to the new one and put it back in its seat. For the internal light you will find inside the hood a removable inspection plate that will allow you to remove the single screw and then unhook the light itself and at this point the card to be replaced will already be visible by simply repeating the operation I explained above. . The game is done, all you have to do is reassemble everything by following the various operations backwards.
Posted on 25 November 2021 by ScegliAuto
Video tutorial
Related tutorials
BMW X3
(2010-2017 /
F25, MK 2)
Locating the box containing all the fuses of your BMW X3 F25 is really simple. All you have to do is read the following guide and follow step by step…
BMW X3
(2010-2017 /
F25, MK 2)
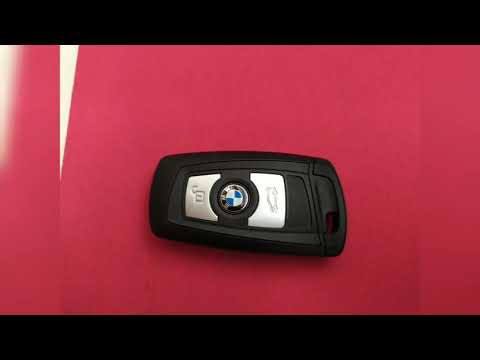
Let's find out in this short and simple guide how to remove and replace the key remote control battery on the BMW X3 F25, but also on the X5 and X6. …
BMW X3
(2010-2017 /
F25, MK 2)
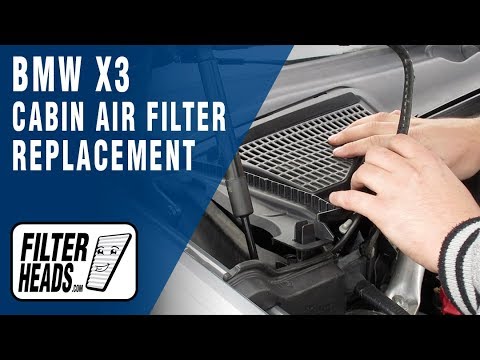
The cabin air filter of the BMW X3 F25 is accessed through the engine compartment since the filter is located on the passenger side just under the wi…
Other guides you may be interested in
|
How to Replace the Diesel Filter on a Dacia Duster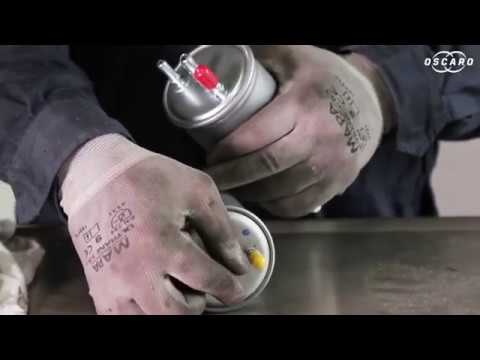
Let's see how to replace the diesel filter on a Dacia Duster. Start by removing the plastic cover at the bottom of the bumper with a suitable screwdriver (remove the circle), then reach the front headlamp located in the bumper (as shown in the video). After removing the container, take out the filter inside and fit a new one (same size). Refit the container and the plastic cover under the car's bumper with the attached clips. Test the proper functioning. Refit the front circle with the securing clips and lower the car. by ScegliAuto More videos
|

|
For advertising on this site Write to info@scegliauto.com
ScegliAuto is not responsible for any inaccuracy of the data in the lists. To report any inaccuracy or your business (if you own the business in question), please write to info@scegliauto.com
Number of seconds to generate the page: 0.051
(c) ScegliAuto 2026 - info@scegliauto.com - Privacy policy VAT number: IT01247470535 |