
|
Do it yourself
| |||
| ||||


Throttle Pedal Disassembly Instructions
Model: BMW Serie 3
E36
- Years 1990-2001
The throttle pedal of the vehicle in question features a mounting solution that is somewhat unconventional: generally, it is a lever hinged at the top and connected to a potentiometer that controls its position. In this case, however, the pedal is attached to the mat at the bottom and then connected to a lever at the top: to disassemble it, you must first release the three clips at the bottom and then detach it from the lever pin, noting that there is a spring tab that needs to be pressed in to remove it.
Updated on 14 February 2026 by ScegliAuto
Video tutorial
Related tutorials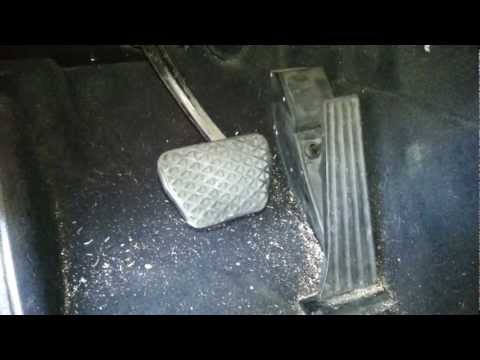
BMW Serie 3
(1998-2006 /
E46)
Before proceeding with the disassembly of the accelerator pedal, disconnect the connector attached to the potentiometer instead of cutting the wire a…
BMW Serie 3
(1998-2006 /
E46)
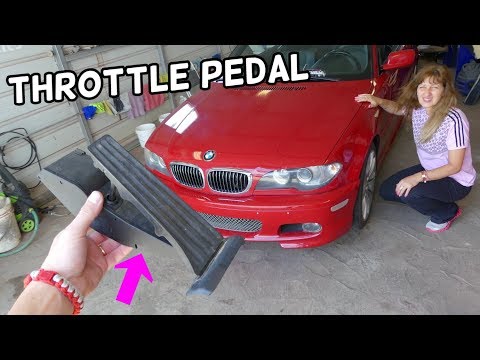
In this video, you will see instructions on how to remove and replace the accelerator pedal of the BMW 3 Series E46. First, get in the vehicle and gr…

BMW Serie 3
(2005-2013 /
E91, E90, E92)
These short and simple instructions will show us how to disassemble and replace the accelerator pedal of the BMW 3 Series. First, we open the front d…
Other guides you may be interested in |
Frequently Asked QuestionsHow to Replace the Remote Battery for the Volvo XC40?
In this tutorial, you will see how to replace the battery in the remote for the Volvo XC40, a very simple and quick operation. For this, you will need a replacement battery of type CR2032 and possibly a small flathead screwdriver. First, remove the front cover by pressing the button on the metal ring, then locate the second button, press it as well, and remove the opposite cover. Next, open the circular cap, take out the old battery, and insert the new one in the opposite direction. Finally, reassemble everything. by ScegliAuto More videos
|
|
For advertising on this site Write to info@scegliauto.com
ScegliAuto is not responsible for any inaccuracy of the data in the lists. To report any inaccuracy or your business (if you own the business in question), please write to info@scegliauto.com
Number of seconds to generate the page: 0.053
(c) ScegliAuto 2026 - info@scegliauto.com - Privacy policy VAT number: IT01247470535 |
