
|
Do it yourself
| |||
| ||||


How to Replace the Rear Door Window Regulator on a BMW 3 Series E90
Model: BMW Serie 3
E91, E90, E92
- Years 2005-2013
In this video, you will learn how to replace the rear door window regulator on a BMW 3 Series E90. The first step is to remove the panel: start with the handle by removing the cover and unscrewing the screws underneath. Next, remove the window switch by disconnecting the electrical connector. Then, take out the three screws under the panel, lift it up, and disconnect the electrical connector. Now, partially remove the intermediate cover to access the mechanism. Secure the glass to prevent it from falling. Next, remove the window regulator, which is secured with three 10 mm screws, and take it out of its housing. You can find the new part, including the motor, on Amazon with the code B01FKOGN9M for $29.50, including shipping. Note: This is the left side. The right side will cost you 50 cents more. Reinstall the window regulator by fitting the glass back in place and perform some tests. If everything is okay, reinstall the cover and then put the panel back in place, starting with the electrical connector, then the upper clip, the three screws at the bottom, and finally those for the handle. Reconnect the electrical switch and put it back in place. Snap the handle cover back on. You're done. Everything is in place.
Updated on 22 July 2026 by ScegliAuto
This video is currently unavailable
Related tutorials
BMW Serie 3
(2005-2013 /
E91, E90, E92)
In this video, see how to reset the window regulator module on a BMW 3 Series E90, fourth generation, by following the instructions below. First, get…

BMW Serie 3
(2005-2013 /
E91, E90, E92)
The following steps will show us how to disassemble and replace the rear window regulator mechanism of the BMW 3 Series. First, we open the rear door…
BMW Serie 3
(2005-2013 /
E91, E90, E92)
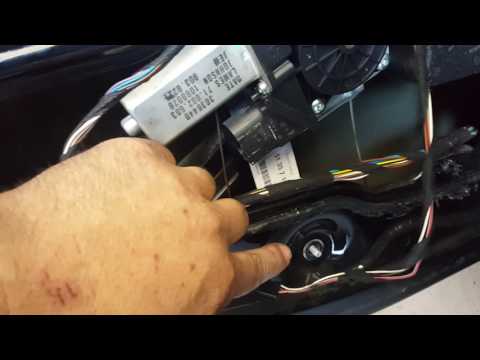
How to remove the window regulator motor from a BMW 3 Series? Let's see how to proceed in this video. Disconnect the battery terminals. Use a screwdr…
Other guides you may be interested in
|
Frequently Asked QuestionsHow to Set the Clock on the Opel Zafira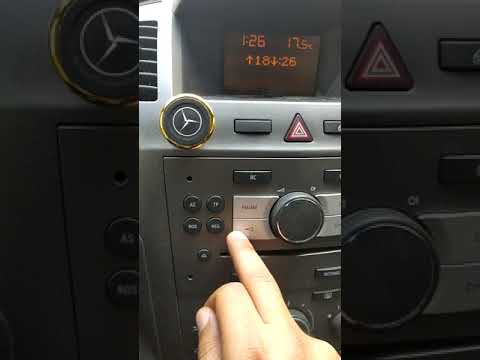
Setting the clock to the current Italian time on an Opel Zafira model B is a very simple operation, also made easier by our short instructional video. The first step is to turn on the instrument panel and then press the SETTING button located on the central dashboard. Once inside the menu, use the buttons to navigate to the clock setting. Adjust the hours and minutes and restart the instrument panel. If the clock does not update, it may be necessary to diagnose the radio or the vehicle's control unit. by ScegliAuto More videos
|

|
For advertising on this site Write to info@scegliauto.com
ScegliAuto is not responsible for any inaccuracy of the data in the lists. To report any inaccuracy or your business (if you own the business in question), please write to info@scegliauto.com
Number of seconds to generate the page: 0.575
(c) ScegliAuto 2026 - info@scegliauto.com - Privacy policy VAT number: IT01247470535 |
