
|
Do it yourself
| |||
| ||||


Complete Replacement of Factory Speakers
Model: BMW Serie 5
E39
- Years:
1995, 1996, 1997, 1998, 1999, 2000, 2001, 2002, 2003
Video tutorial
Lower the window of the door and unscrew the screw located in the opening handle area. Unscrew the screw located in the side tunnel. Using a plastic tool, pry between the body and the door trim until it lifts. Gently lift the plastic trim starting from the bottom, releasing all clips using the plastic tool. With your fingers, also release the clips at the top until you remove the entire assembly, being careful of the speaker wires. Disconnect the connector from the control unit and unscrew all screws holding the speaker assembly in place. Unscrew the four screws securing the original speaker located under the gasket. Remove the speaker and the wires connected to it. Insulate the terminals with a wrap of electrical tape and gently tighten them with pliers. Connect the terminals to the new speaker and secure it in place using the four screws. Remove the protective paper from the new gasket and position it around the speaker. Reinstall the speaker assembly in the door and reconnect the connector. Remove the trim from the door pillar and replace the tweeter with the new one.
Updated on 2 February 2026 by ScegliAuto
Related tutorials
BMW Serie 5
(2010-2017 /
F11, F10)
In this tutorial, you will see how to replace the speakers in a BMW 5 Series, a very simple and quick operation. First, ensure the key is not in the …

BMW Serie 5
(1995-2003 /
E39)
The following video tutorial explains how to reset the "ECU" (Engine Control Unit) to factory settings on a BMW 5 Series (the same procedure applies …
BMW Serie 5
(2003-2010 /
E60, E61)
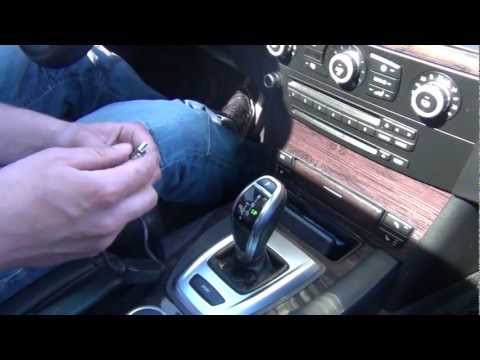
This video shows how to install the AUX/USB cable on a factory radio. First, obtain the correct cable compatible with your radio and connect it via U…
Other guides you may be interested in
|
Fuses Placement and Diagram for the Mercedes Vito
Check the diagram and placement of the fuse boxes for the Mercedes Vito by following the instructions below. First, open the bonnet and locate the external fuse box; you will find it by removing the plastic cover situated at the top of the engine compartment, as shown in the video. At this point, find another fuse box in the cabin, specifically under the driver's seat; use the owner's manual to find the fuse diagram and replace any faulty fuse with a new one that has the same amperage rating. by ScegliAuto More videos
|
|
For advertising on this site Write to info@scegliauto.com
ScegliAuto is not responsible for any inaccuracy of the data in the lists. To report any inaccuracy or your business (if you own the business in question), please write to info@scegliauto.com
Number of seconds to generate the page: 0.074
(c) ScegliAuto 2026 - info@scegliauto.com - Privacy policy VAT number: IT01247470535 |
