
|
Do it yourself
| |||
| ||||


Replacing the Rear Suspension Knuckle
Model: BMW X5
E53
- Years:
1999, 2000, 2001, 2002, 2003, 2004, 2005, 2006
Video tutorial
Position the car on a lift and raise it to a comfortable working height for the wheel. Remove the rear wheel using the appropriate wrenches and take it off its position. Lift the axle using a hydraulic jack to compress the suspension. Unscrew the lower nut that connects it to the rear axle and carefully disengage the suspension from the axle. Once the suspension is free, remove the jack and lower the axle. Lower the car to the ground using the lift. Open the rear hood, lift the panel that hides the spare tire compartment. Unscrew the nuts of the plastic cover in the rear right position, above the suspension, move the side panel, and remove the cover. Open the right rear door and do the same with the plastic cover where the wheel bolt key is stored. Remove it and move the rubber that protects the upper position of the suspension. Unscrew the suspension nuts. From underneath, next to the wheel, extract the suspension and replace the knuckle, which is the part that connects to the suspension via a nut and bolt and makes contact with the body, secured with nuts and bolts. After completing this operation, reposition the suspension following the reverse procedure. The car is a BMW X5.
Updated on 19 February 2026 by ScegliAuto
Related tutorials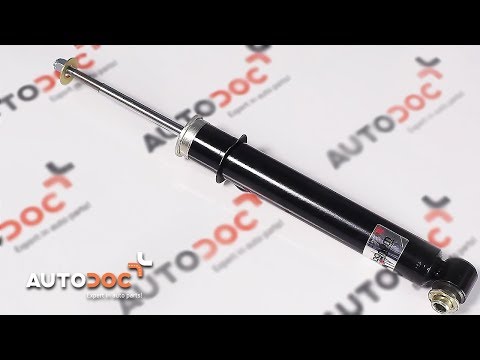
BMW X5
(1999-2006 /
E53)
Replacing the rear shock absorber is much simpler than the front ones since the spring and the damper are separate; essentially, lift the vehicle on …

BMW X5
(1999-2006 /
E53)
Start by disassembling the transfer case motor that transfers part of the torque to all four wheels of the vehicle, located at the end of the transmi…

BMW X5
(2019-2026 /
G05, G18)
In just a few simple steps, we will go through the process of removing and replacing the rear wiper blade on the BMW X5. First, move to the back of t…
Other guides you may be interested in
|
How to Reset the Tyre Pressure Warning Light on the Jeep Renegade?
To reset the tyre pressure warning light on the Jeep Renegade, inflate the tyres until they reach the recommended pressure: this value is indicated on the sticker attached to the driver’s door pillar. Once the tyres are properly inflated, navigate through the menu that appears on the instrument cluster until you find the tyre pressure option. At this point, press and hold the OK button on the right side of the steering wheel to make the warning light disappear. by ScegliAuto More videos
|
|
For advertising on this site Write to info@scegliauto.com
ScegliAuto is not responsible for any inaccuracy of the data in the lists. To report any inaccuracy or your business (if you own the business in question), please write to info@scegliauto.com
Number of seconds to generate the page: 0.086
(c) ScegliAuto 2026 - info@scegliauto.com - Privacy policy VAT number: IT01247470535 |
