
|
Do it yourself
| |||
| ||||


Replacing the Lambda Sensor in the Exhaust Gas Circuit
Model: BMW Serie 3
E36
- Years 1990-2001
The lambda sensor is a device that monitors the pollutants in the exhaust gases to maintain the air-fuel ratio (kg air/kg fuel) within the optimal efficiency range of the catalytic converter. The output signal from the sensor is an electrical signal sent to the fuel injector control unit. The lambda sensor should be replaced frequently, especially if there is a loss of power, excessive fuel consumption, or pollutant exhaust gases. An effective check of the four lambda sensors can be done with specialized equipment, but a simple check can be performed using a good digital multimeter. Disconnect the sensor connector and check the electrical resistance by measuring between the white wire and the yellow wire. If the sensor shows some resistance, it can be considered functional; otherwise, the sensor is faulty. Check all four sensors, two of which are located in the exhaust manifold and two in the engine manifold. Due to high temperatures, replace the sensors when the engine is very cold. Using a simple wrench, unscrew the sensor and disconnect the connector. For safety, replace all sensors, then drive several miles and retest with the appropriate equipment to verify the return of pollutant parameters.
Updated on 2 February 2026 by ScegliAuto
Video tutorial
Related tutorials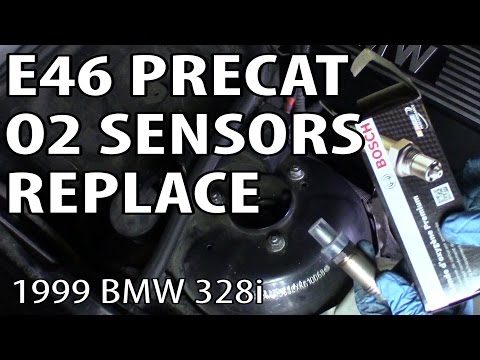
BMW Serie 3
(1998-2006 /
E46)
To be able to replace the lambda probe on the BMW 3 Series, you have to open the bonnet in order to access the engine compartment and its internal co…
BMW Serie 3
(2005-2013 /
E92, E90, E91)
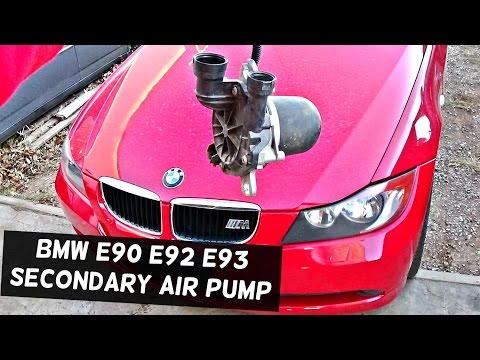
During the cold start phase of a gasoline engine, a particularly rich mixture is necessary, meaning an excess of fuel, which leads to the formation o…
BMW Serie 3
(1998-2006 /
E46)
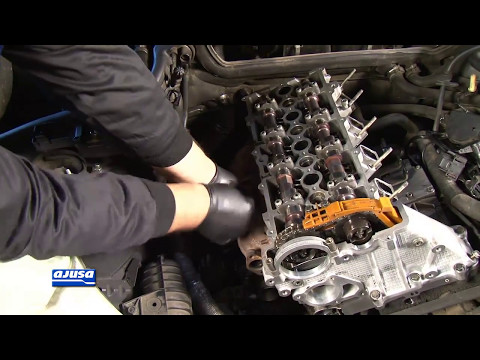
The gasket kit for the exhaust manifold always includes the exhaust manifold gasket; specifically, due to the high temperature of the exhaust gases, …
Other guides you may be interested in
|
How to Remove the Engine Air Filter on a Fiat 500X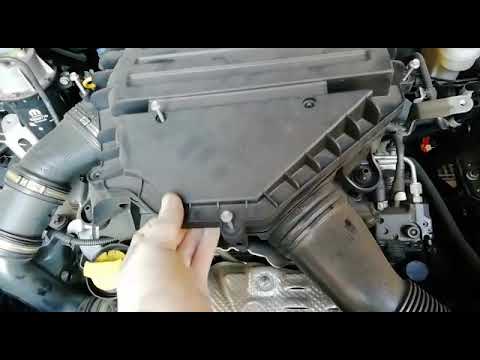
To remove the engine air filter on a Fiat 500X: open the car door, pull up the lever to open the engine bay located at the bottom left of the dashboard and lift the front bonnet, securing it with the prop rod. Unscrew the retaining bolts of the air intake kit (located above the engine head), remove the cover of the filter box and extract the worn air filter. Insert a new filter into the designated housing (ensuring it fits snugly against the walls). Finally, reassemble the air box cover and tighten everything with the bolts. Close the front bonnet after maintenance. by ScegliAuto More videos
|
|
For advertising on this site Write to info@scegliauto.com
ScegliAuto is not responsible for any inaccuracy of the data in the lists. To report any inaccuracy or your business (if you own the business in question), please write to info@scegliauto.com
Number of seconds to generate the page: 0.057
(c) ScegliAuto 2026 - info@scegliauto.com - Privacy policy VAT number: IT01247470535 |