
|
Do it yourself
| |||
| ||||


Chevrolet Captiva - Fuse boxFuse Box Chevrolet Captiva (2006-2018 / mk 1) Chevrolet Captiva (2006-2018 / MK 1) Where to Find and How to Access the Fuel Pump Fuse on a Chevrolet Captiva Good morning, today you will discover where the fuel pump fuse is located on your Chevrolet Captiva. Start by opening the rear boot lid. Then, look around to …Read all… Posted on 4 November 2026 by ScegliAuto  Chevrolet Captiva (2006-2018 / MK 1) Where is the fuse box located in the Chevrolet Captiva? To effectively troubleshoot electrical faults in your Chevrolet Captiva, you need to know the location of the respective fuses. This guide will help you …Read all… Posted on 18 October 2026 by ScegliAuto 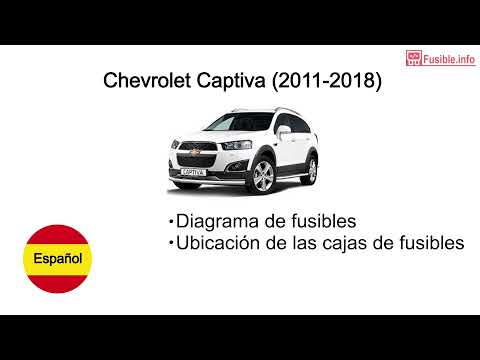 Chevrolet Captiva (2006-2018 / MK 1) Where are the fuses located in the Chevrolet Captiva? The fuses in the Chevrolet Captiva are positioned within dedicated fuse boxes installed in the car: on this type of vehicle, you can find two boxes for …Read all… Posted on 7 September 2026 by ScegliAuto  Chevrolet Captiva (2006-2018 / MK 1) Fuse Diagram for Chevrolet Captiva V6 In today's video, you will see the fuse diagram and the positioning of the various fuse boxes on a 2012 Chevrolet Captiva V6. First, open the bonnet and locate …Read all… Posted on 13 May 2026 by ScegliAuto  Chevrolet Captiva (2006-2018 / MK 1) Fuse Box Location and Diagram for Chevrolet Captiva In this video tutorial, you will see the location of the internal fuse box and the fuse diagram for a Chevrolet Captiva, following the instructions below. …Read all… Posted on 9 May 2026 by ScegliAuto Alternator (3) Car stereo (6) Battery (1) Spark plugs (1) Glow plugs (2) Key (9) Headlight (2) Diesel particulate filter (1) Cabin air filter (6) Diesel fuel filter (4) Oil filter (9) Parking brake (2) Xenon headlight kit (1) Light bulb (1) Headlight bulb (4) Tail light bulb (1) License plate light (1) Handle (1) Starter motor (1) Door trim panel (4) Windshield (1) Front bumper (2) Brake pads (2) Pump (1) Fuel pump (3) Instrument cluster (1) Radiator (3) Fuse box (5) Side mirror (5) Warning light – error code (4) Service warning light (30) Manufacturer emblem (1) |
How to Reset the Tyre Pressure Light on the Hyundai i20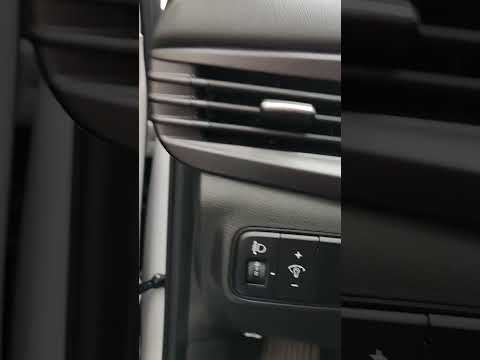
These brief instructions will show you how to reset the tyre pressure monitoring system (TPMS) light on the Hyundai i20. Before performing the reset, ensure that all four tyres are at the correct operating pressure. Then, get inside the cabin and turn on the ignition. Now, press and hold the TPMS reset button located on the left side of the driver's seat until the tyre pressure light resets on the instrument panel, as shown in the video. At this point, turn off the ignition and start the engine to complete the process! by ScegliAuto More videos
|
|
For advertising on this site Write to info@scegliauto.com
ScegliAuto is not responsible for any inaccuracy of the data in the lists. To report any inaccuracy or your business (if you own the business in question), please write to info@scegliauto.com
Number of seconds to generate the page: 0.006
(c) ScegliAuto 2026 - info@scegliauto.com - Privacy policy - About us VAT number: IT01247470535 |
