
|
Do it yourself
| |||
| ||||


How to Remove the Radio from a Chevrolet Orlando
Model: Chevrolet Orlando
MK 1
- Years 2011-2016
Before you can start, sit in the driver's seat of your Chevrolet Orlando. Begin by prying out and removing the radio trim along with the air vents. Next, unscrew and remove the screws securing the radio to its housing. By doing this, you will free the radio itself. Proceed to pull the radio out from the dashboard. At this point, disconnect the electrical connectors attached to it. Once you have completed this step, you will have finished the disassembly.
Updated on 15 April 2026 by ScegliAuto
Video tutorial
Related tutorials
Chevrolet Orlando
(2011-2016 /
MK 1)
To easily locate the fuse box in your 2014 Chevrolet Orlando in just a few seconds, follow the steps outlined in this guide. First, park your Chevrol…
Chevrolet Orlando
(2011-2016 /
MK 1)
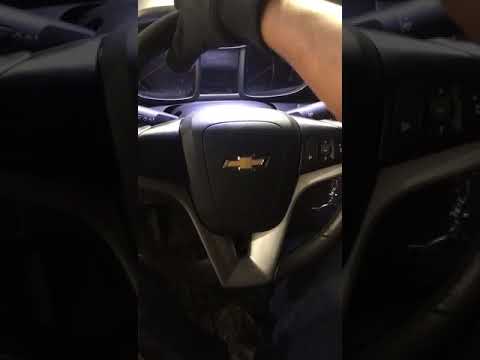
Before starting, disconnect the battery of your Chevrolet Orlando to work safely. Sit in the driver's seat and turn the steering wheel. Next, unscrew…

Chevrolet Orlando
(2011-2016 /
MK 1)
To safely locate the fuse box located inside the cabin of your Chevrolet Orlando, simply read carefully the steps described below and follow them ste…
Other guides you may be interested in
|
How to replace the horn on a Renault Duster - Dacia Duster
Today's main instructions will show you the procedure for removing and replacing the horn or sound signal on the Renault Duster, as well as the Dacia Duster. First, open the bonnet of the vehicle and start removing the front bumper by unscrewing all the fixing screws; you will find the horn right in front of the radiator, as shown in the video. At this point, disconnect the electrical connector and unscrew the bracket screw to remove and replace the horn with the new one; finally, reassemble the front bumper! by ScegliAuto More videos
|
|
For advertising on this site Write to info@scegliauto.com
ScegliAuto is not responsible for any inaccuracy of the data in the lists. To report any inaccuracy or your business (if you own the business in question), please write to info@scegliauto.com
Number of seconds to generate the page: 0.235
(c) ScegliAuto 2026 - info@scegliauto.com - Privacy policy VAT number: IT01247470535 |
