
|
Do it yourself
| |||
| ||||


How do you change the time on a Citroën Jumper?
Model: Citroen Jumper
MK 3
- Years:
2014, 2015, 2016, 2017, 2018, 2019, 2020, 2021, 2022, 2023, 2024
Video tutorial
Changing the time in these cases is easier than it seems, you just need to know where to put your hands. Turn on the dashboard, there is no need to start the engine, look for the two buttons near the clock display. Usually there is an H for hours and an M for minutes, or a single Mode button that needs to be pressed multiple times. Hold it down until the time starts flashing, then press in increments to adjust it. Same thing for the minutes. When you're done, wait a few seconds and the new time will save automatically. It's not a difficult operation to do yourself, but if you can't do it I recommend contacting an expert or a mechanic.
Posted on 17 September 2025 by ScegliAuto
Related tutorials
Citroen Jumper
(2006-2014 /
MK 2)
This guide will show you how to change the time on the Citroen Jumper, following the instructions below. First, get in the vehicle and turn on the in…

Citroen Jumper
(2006-2014 /
MK 2)
The Citroen Jumper is a light commercial vehicle, also known as a van. In its instrumentation there are several pieces of information that can be con…
Citroen Jumper
(2006-2014 /
MK 2)
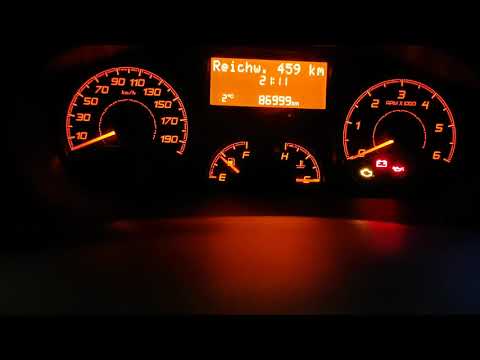
In today's video, see how to set the time and date on a Citroen Jumper. This tutorial also applies to the twin models Fiat Ducato and Peugeot Boxer f…
Other guides you may be interested in
|
How to Remove the Rear Seat of a Hyundai Tucson?
To remove the rear seat of a Hyundai Tucson, follow these steps. Start by moving the front seats to their most forward position to gain space. Next, locate the release lever on the underside of the rear seat, near the floor. Press this lever down while pulling the seat upwards to unlock it from the anchor pins. Once unlocked, tilt the seat upwards and forwards to remove it from its position. Repeat this process for both sides of the rear seat. Be careful of any electrical cables or components that may be connected to the seat during removal. Once the rear seat is removed, the disassembly is complete. by ScegliAuto More videos
|
|
For advertising on this site Write to info@scegliauto.com
ScegliAuto is not responsible for any inaccuracy of the data in the lists. To report any inaccuracy or your business (if you own the business in question), please write to info@scegliauto.com
Number of seconds to generate the page: 0.065
(c) ScegliAuto 2026 - info@scegliauto.com - Privacy policy VAT number: IT01247470535 |
