
|
Do it yourself
| |||
| ||||


How to perform the engine oil change on a Citroen Xsara Picasso.
Model: Citroen Xsara Picasso
MK 1
- Years 1999-2012
Today we will see how to replace the engine oil filter and the engine oil on a Citroen Xsara Picasso. We pull the hood release lever to access the engine oil reservoir. Using a 5 mm Allen key, we unscrew the four screws on the engine cover to remove it. We open the oil filler cap so that the outflow from the reservoir will be quicker and lift the front of the vehicle. Using a 22 mm socket wrench, we unscrew the oil reservoir cap; before removing the cap, it is important to place a container to catch the liquid that needs to be disposed of according to your local regulations. Using a filter removal tool, we remove the oil filter housing to replace it. After letting the oil drain into the container and replacing the filter, we bring the vehicle back to the ground and pour 5 liters of oil into the reservoir.
Posted on 3 December 2025 by ScegliAuto
Video tutorial
Related tutorials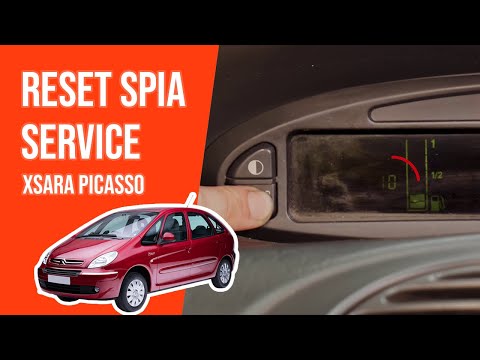
Citroen Xsara Picasso
(1999-2012 /
MK 1)
Before you begin, sit in the driver's seat of your Citroen Xsara Picasso. Start by pressing and holding the button located at the bottom left of the …

Citroen Xsara Picasso
(1999-2012 /
MK 1)
To independently replace the engine air filter inside your Citroen Xsara Picasso, simply read the following guide carefully and follow the described …

Citroen Xsara Picasso
(1999-2012 /
MK 1)
The instructions in this guide will allow you to remove and replace the standard radio of a Citroen Xsara Picasso in simple steps. First, get inside …
Other guides you may be interested in
|
How to replace the horn on a Renault Duster - Dacia Duster
Today's main instructions will show you the procedure for removing and replacing the horn or sound signal on the Renault Duster, as well as the Dacia Duster. First, open the bonnet of the vehicle and start removing the front bumper by unscrewing all the fixing screws; you will find the horn right in front of the radiator, as shown in the video. At this point, disconnect the electrical connector and unscrew the bracket screw to remove and replace the horn with the new one; finally, reassemble the front bumper! by ScegliAuto More videos
|
|
For advertising on this site Write to info@scegliauto.com
ScegliAuto is not responsible for any inaccuracy of the data in the lists. To report any inaccuracy or your business (if you own the business in question), please write to info@scegliauto.com
Number of seconds to generate the page: 0.282
(c) ScegliAuto 2026 - info@scegliauto.com - Privacy policy VAT number: IT01247470535 |
