
|
Do it yourself
| |||
| ||||


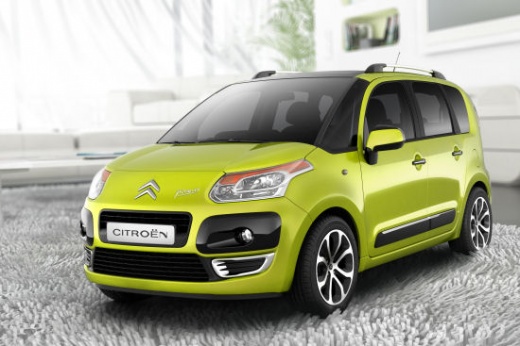
Disassembly and replacement of the rear light of the Citroen C3 Picasso
Model: Citroen C3 Picasso
MK 1
- Years:
2008, 2009, 2010, 2011, 2012, 2013, 2014, 2015, 2016, 2017
Video tutorial
Today we will discover the procedure for disassembling and replacing the rear light and its bulbs of the Citroen C3 Picasso. First, let's open the rear hatch of the trunk and start unscrewing the fastening screws located on the side of the light, using a wrench or torx screwdriver; then we will disconnect the electrical connector of the bulbs, as shown in the video. At this point, we replace the brake lights or the entire rear light; we connect it electrically and secure it to the body with screws, checking the proper functioning of all the brake lights!
Posted on 26 January 2026 by ScegliAuto
Related tutorials
Citroen C3 Picasso
(2008-2017 /
MK 1)
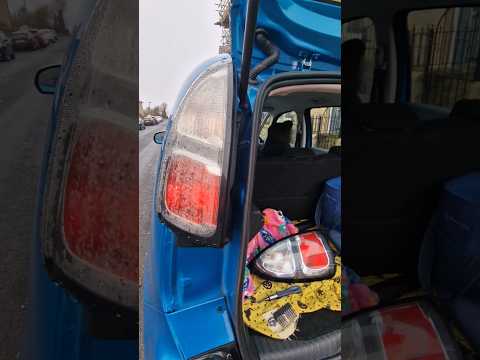
This video tutorial will show you the steps to independently replace the left rear light on a Citroen C3 Picasso when the plastic is damaged. First, …
Citroen C3 Picasso
(2008-2017 /
MK 1)
Before starting, open the tailgate of your Citroen C3 Picasso. Begin by unscrewing and removing the screws that secure the rear light to its housing.…
Citroen C3 Picasso
(2008-2017 /
MK 1)
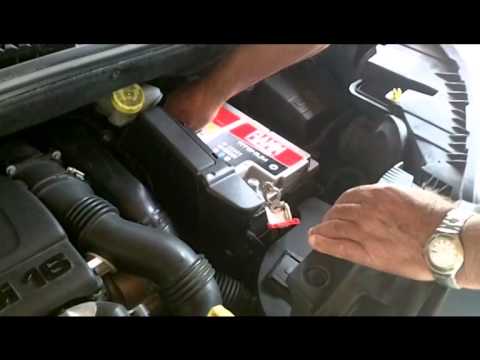
How to replace the battery on a Citroen C3 Picasso? Let’s see how to do it. Pull up the engine compartment release lever located at the bottom left o…
Other guides you may be interested in
|
How to Remove the Toll Tag Holder from the Car Windscreen
The toll tag holder is usually attached to the car windscreen to ensure that the toll tag functions immediately when passing through barriers. However, if you decide to remove the holder, you should follow this procedure: - Insert the toll tag into the holder; - Pull the holder inwards to detach it from the windscreen; you can use a glass scraper or a stiff plastic card to assist you; After removing the holder, it is essential to remove the adhesive from the windscreen. To remove the adhesive, we recommend using a solvent-based spray that will remove the glue without clouding the area. by ScegliAuto More videos
|
|
For advertising on this site Write to info@scegliauto.com
ScegliAuto is not responsible for any inaccuracy of the data in the lists. To report any inaccuracy or your business (if you own the business in question), please write to info@scegliauto.com
Number of seconds to generate the page: 0.017
(c) ScegliAuto 2026 - info@scegliauto.com - Privacy policy VAT number: IT01247470535 |
