
|
Do it yourself
| |||
| ||||


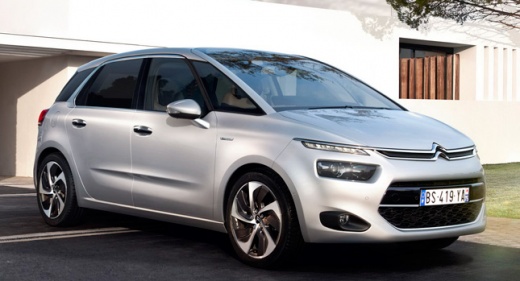
How to Replace the Cigarette Lighter with a Dual USB Socket on a Citroen C4 Grand Picasso
Model: Citroen C4 Picasso
MK 2
- Years:
2013, 2014, 2015, 2016, 2017, 2018, 2019, 2020, 2021, 2022
Video tutorial
Let's see how to replace the cigarette lighter with a dual USB socket. You can find this socket on Amazon for £15.99 (+£3.99 delivery), already complete with its cables and voltmeter measurement. Before starting this operation, disconnect the negative terminal of the battery. Have the radio code ready, if necessary. You will need to unscrew the screw that holds the side panel of the console in place on both sides to free the central console. There will also be screws to remove on the central panel to take off the plastic cover. All positions are clearly indicated in the video. Once you have exposed the connection wires, remove the connector from the cigarette lighter and, stripping the wires, connect the black to black and the red to red. Secure them with some insulating tape. Then check that the new connector fits properly into the hole of the previous cigarette lighter. If necessary, adapt it. Reconnect all connectors. You can also reassemble the console, but not before testing that the connections work correctly. Close everything up following the reverse order and the operation is complete.
Updated on 10 August 2026 by ScegliAuto
Related tutorials
Citroen C4 Picasso
(2013-2022 /
MK 2)
Watch this video for instructions on how to update the onboard computer software on a Citroen C4 Grand Picasso. First, download the licensed file fro…

Citroen C4 Picasso
(2013-2022 /
MK 2)
In this guide, we will see the main instructions that will allow us to update the firmware of the navigator and multimedia system of the Citroen C4 G…
Citroen C4 Picasso
(2006-2013 /
MK 1)
To reset the service light on a Citroen C4 Grand Picasso, start by pressing the "000" button on the left side of the dashboard screen, then turn on t…
Other guides you may be interested in
|
How to Remove the Rear Seat of a Hyundai Tucson?
To remove the rear seat of a Hyundai Tucson, follow these steps. Start by moving the front seats to their most forward position to gain space. Next, locate the release lever on the underside of the rear seat, near the floor. Press this lever down while pulling the seat upwards to unlock it from the anchor pins. Once unlocked, tilt the seat upwards and forwards to remove it from its position. Repeat this process for both sides of the rear seat. Be careful of any electrical cables or components that may be connected to the seat during removal. Once the rear seat is removed, the disassembly is complete. by ScegliAuto More videos
|
|
For advertising on this site Write to info@scegliauto.com
ScegliAuto is not responsible for any inaccuracy of the data in the lists. To report any inaccuracy or your business (if you own the business in question), please write to info@scegliauto.com
Number of seconds to generate the page: 0.053
(c) ScegliAuto 2026 - info@scegliauto.com - Privacy policy VAT number: IT01247470535 |
