
|
Do it yourself
| |||
| ||||


How to replace the front stabilizer bar bushings of the Dacia Duster
Model: Dacia Duster
HM, MK 2
- Years 2017-2024
In this video, we see how to replace the stabilizer bar bushings of the Dacia Duster MK2: if we have had the opportunity to remove the front bumper, then it is the right time to take a look at this component, which is located behind a small plastic panel that can be easily removed with 13 mm bolts. In the video, we see the bushings, which we will replace with new ones that we may have found, for example, on silentblock. Com/it with the code BT0249 at the price of 26.00 euros per pair; however, there is no information on delivery costs. For installation, it is necessary to use grease, preferably teflon for optimal lubrication. The car needs to be lifted to perform this operation, so it is advisable to have jack stands available. Unfortunately, the YouTuber does not show us in detail how the operation is carried out, but he says that it is not particularly difficult, apart from removing the bumper, which is solved by removing the four torx screws above and five below; it is not necessary to remove the wheels, only the wheel arch. The panel we mentioned earlier is removed, the bushings are changed, and the job is done.
Posted on 17 February 2025 by ScegliAuto
Video tutorial
Related tutorials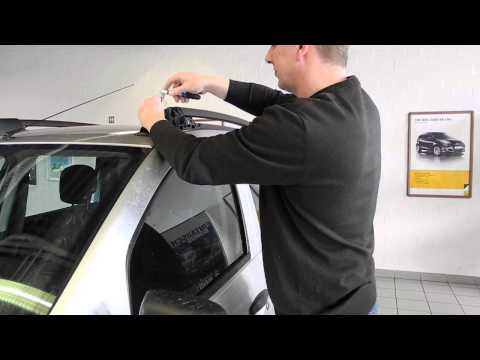
Dacia Duster
(2010-2017 /
HS, MK 1)
In this video, you will see the main instructions for dismantling the roof bars or roof rack bars on a first-generation Dacia Duster in simple steps.…

Dacia Duster
(2010-2017 /
HS, MK 1)
To replace the battery of the Dacia Duster, we need to open the front hood and cover the body with a microfiber cloth. Using a socket wrench with a 1…

Dacia Duster
(2010-2017 /
HS, MK 1)
Today's main instructions will show us the process of disassembling and replacing the horn or acoustic warning device of the Renault Duster, as well …
Other guides you may be interested in
|
How to Repair the Key Spring of the Peugeot 207?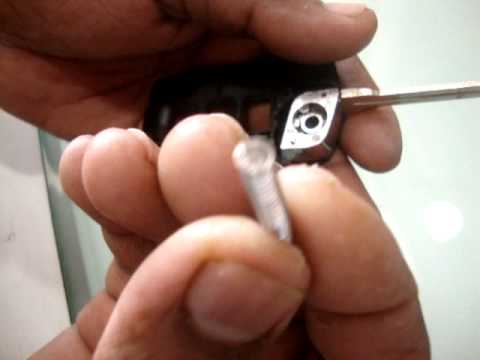
Over time, frequent use of the key's flip mechanism in the vehicle, dozens of times a day, inevitably leads to wear of the internal spring. As shown in this video, replacing the spring is quite simple and takes little time. After opening the casing halfway, first position the key, then the spring housing, and finally insert the spring into the previously mentioned housing. Close the casing by rotating it clockwise, ensuring all components fit perfectly, and test the key's flip mechanism. by ScegliAuto More videos
|
|
For advertising on this site Write to info@scegliauto.com
ScegliAuto is not responsible for any inaccuracy of the data in the lists. To report any inaccuracy or your business (if you own the business in question), please write to info@scegliauto.com
Number of seconds to generate the page: 0.090
(c) ScegliAuto 2026 - info@scegliauto.com - Privacy policy VAT number: IT01247470535 |
