
|
Do it yourself
| |||
| ||||


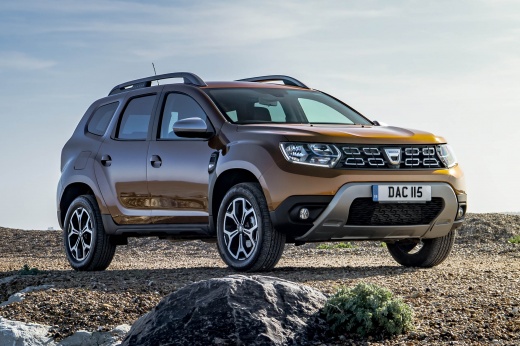
Removing the Front Bumper of the 2018 Dacia Duster
Model: Dacia Duster
HM, MK 2
- Years:
2017, 2018, 2019, 2020, 2021, 2022, 2023, 2024
Video tutorial
To remove the front bumper of the Dacia Duster, start by positioning the vehicle on a ramp or level surface. This will allow you to work safely and stably. Now, open the front bonnet of the engine compartment. Next, unscrew (using the appropriate tool) all the screws located on the upper edge of the front end of the vehicle (near the bonnet closure line and just above the grille). Then, unscrew the screws and bolts located at the bottom of the bumper (refer to the video for details on their positions). Next, unscrew the bolts located inside the front wheel arches. Finally, after unlocking the various clips holding it in place, you can remove the bumper by pulling it along the perimeter where it contacts the bodywork.
Updated on 29 March 2026 by ScegliAuto
Related tutorials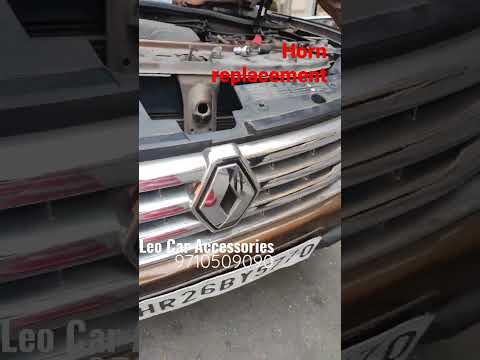
Dacia Duster
(2010-2017 /
MK 1, HS)
Today's main instructions will show you the procedure for removing and replacing the horn or sound signal on the Renault Duster, as well as the Dacia…
Dacia Duster
(2010-2017 /
MK 1, HS)
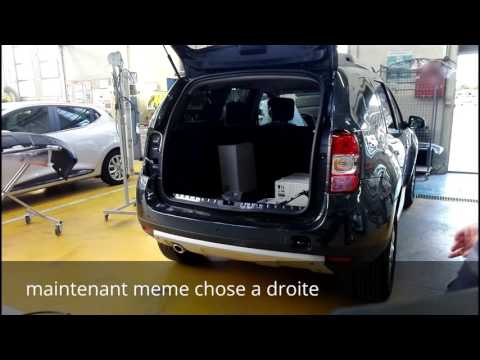
In this video, you will learn how to remove the rear lights of a first-generation Dacia Duster, as well as how to take off the rear bumper. First, op…

Dacia Duster
(2010-2017 /
MK 1, HS)
Remove the front bumper of the Dacia Duster if you need to replace it. Use a jack to lift the vehicle. Lift the bonnet and secure it, then raise the …
Other guides you may be interested in
|
How to Reset the AdBlue Warning Light on a Peugeot Boxer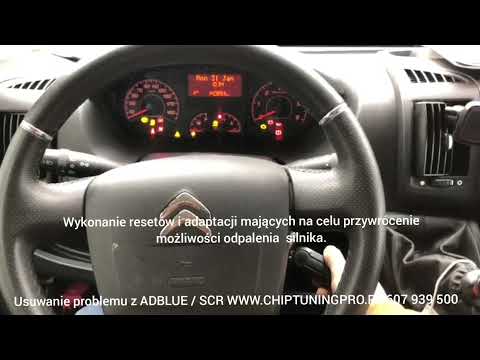
To reset the AdBlue system on a 2018 Peugeot Boxer, follow these steps: Start the engine and ensure the vehicle is parked in a well-ventilated area. Locate the "MENU" button on the dashboard or steering wheel controls. Press and hold the "MENU" button until the menu options appear on the display. Use the arrow buttons or scroll wheel to access the "Vehicle Settings" or "Settings" menu. Select the "AdBlue" or "AdBlue System" option. Look for the "Recharge" or "Reset" option in the AdBlue menu. Once you find the reset option, select it and confirm your choice when prompted. The system will be reset, and a confirmation message may appear on the display. Turn off the engine and wait a few seconds. Restart the engine and check that the AdBlue system has been reset. by ScegliAuto More videos
|
For advertising on this site Write to info@scegliauto.com
ScegliAuto is not responsible for any inaccuracy of the data in the lists. To report any inaccuracy or your business (if you own the business in question), please write to info@scegliauto.com
Number of seconds to generate the page: 0.047
(c) ScegliAuto 2026 - info@scegliauto.com - Privacy policy VAT number: IT01247470535 |
