
|
Do it yourself
| |||
| ||||


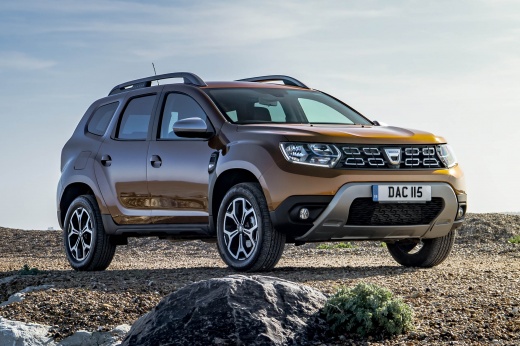
What to do when the AdBlue warning light comes on in the Dacia Duster
Model: Dacia Duster
HM, MK 2
- Years:
2017, 2018, 2019, 2020, 2021, 2022, 2023, 2024
Video tutorial
In this video we see how to behave when the AdBlue symbol appears on the dashboard of our Dacia Duster: at first this light is yellow, and it means that we still have 2/3 liters of AdBlue in the specific tank, so we still have a range of about 2000/2500 kilometers. At this point, the best thing to do is to refill the additive in the tank, in order to turn off the light. If for some reason we cannot do this, the light will turn red, and when we stop the vehicle will not restart due to the lack of urea in its tank. At this point, simply refilling AdBlue will not be enough to restart, but we will have to have the vehicle taken to a Dacia workshop, which will also have to reset the software. So let's not get to this point, but let's refuel earlier, when the light is still yellow.
Posted on 8 August 2025 by ScegliAuto
Related tutorials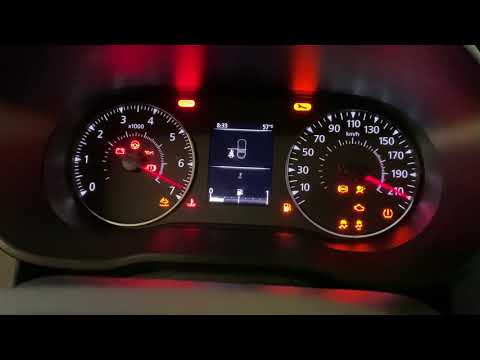
Dacia Duster
(2010-2017 /
MK 1, HS)
This video shows how to turn off the AdBlue warning light in a Dacia Duster. First, refuel the AdBlue. In the Dacia Duster, the AdBlue filler is loca…
Dacia Duster
(2017-2024 /
HM, MK 2)
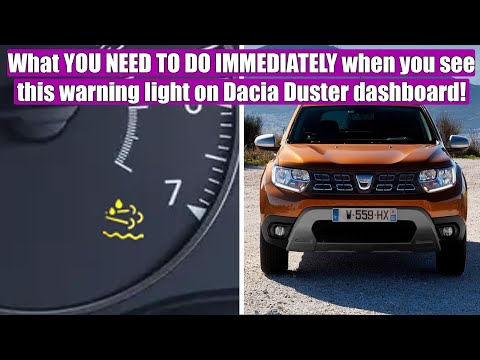
In this video tutorial, you will see how to reset the AdBlue warning light on a Dacia Duster by following a few simple steps. Usually, the AdBlue lig…
Dacia Duster
(2017-2024 /
HM, MK 2)
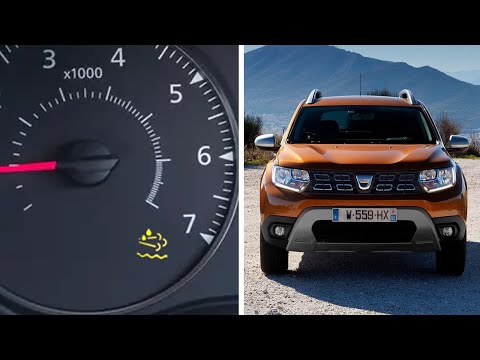
In this brief and simple guide, follow these instructions to top up the AdBlue fluid and reset the warning light on a Dacia Duster. First, open the f…
Other guides you may be interested in
|
How to Remove the Rear Seat of a Hyundai Tucson?
To remove the rear seat of a Hyundai Tucson, follow these steps. Start by moving the front seats to their most forward position to gain space. Next, locate the release lever on the underside of the rear seat, near the floor. Press this lever down while pulling the seat upwards to unlock it from the anchor pins. Once unlocked, tilt the seat upwards and forwards to remove it from its position. Repeat this process for both sides of the rear seat. Be careful of any electrical cables or components that may be connected to the seat during removal. Once the rear seat is removed, the disassembly is complete. by ScegliAuto More videos
|
For advertising on this site Write to info@scegliauto.com
ScegliAuto is not responsible for any inaccuracy of the data in the lists. To report any inaccuracy or your business (if you own the business in question), please write to info@scegliauto.com
Number of seconds to generate the page: 0.022
(c) ScegliAuto 2026 - info@scegliauto.com - Privacy policy VAT number: IT01247470535 |
