
|
Do it yourself
| |||
| ||||


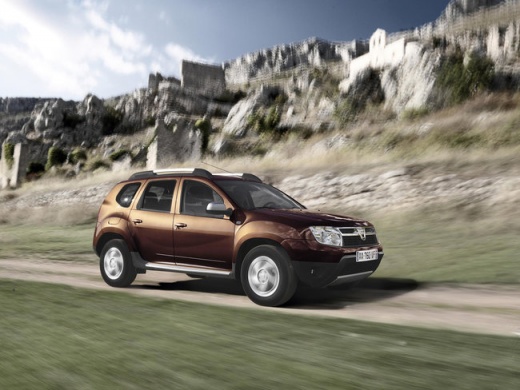
How to install an Android car radio in a Dacia Duster 1
Model: Dacia Duster
MK 1, HS
- Years:
2010, 2011, 2012, 2013, 2014, 2015, 2016, 2017
Video tutorial
Let's see how to install a 2DIN car radio in a Dacia Duster: first, we disconnect the car battery, then we remove the dashboard trim that surrounds the climate control and the radio using a plastic tool. Once removed, we will see the 4 screws that secure the original radio. We extract the radio and disconnect all the connectors: antenna, power plug, and any other connectors from the original power supply. Now we prepare the new Android radio. We install the new support cage for the dashboard: we won't provide guidance on purchasing the device, given the number of models available on the market; the important thing is to buy a specific kit for the Dacia Duster. We connect the ISO adapter to the plug to connect to the electrical system, connect the antenna cable; if there is a cable for steering wheel controls, we connect that as well, and if we are installing a rear camera, we also connect the cables for that. We connect the GPS plug, the Wi-Fi, and the 4G, reconnect the car battery for a functionality test, and if everything is in order, we disconnect it again and reassemble the dashboard around the new radio, pressing until we hear the clips snap into place.
Posted on 23 December 2025 by ScegliAuto
Related tutorials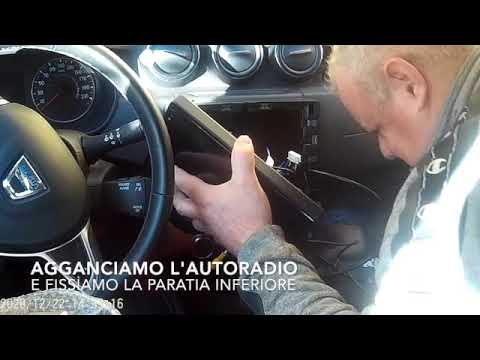
Dacia Duster
(2017-2024 /
HM, MK 2)
In today's video, we will see how to replace the original car radio in the Dacia Duster to install a new multimedia unit in the car. First, switch of…
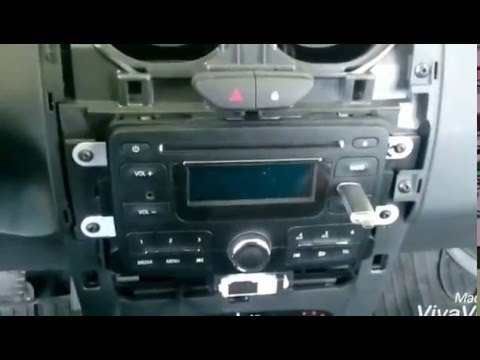
Dacia Duster
(2010-2017 /
MK 1, HS)
Learn how to remove the original radio located in the dashboard of a Dacia Duster. Remove the plastic trim at the front of the dashboard (using a lev…

Dacia Duster
(2010-2017 /
MK 1, HS)
If you intend to install an aftermarket 2 DIN car radio, possibly with a satellite navigation system, you must consider that modifications to the str…
Other guides you may be interested in
|
How to Remove the Rear Seat of a Hyundai Tucson?
To remove the rear seat of a Hyundai Tucson, follow these steps. Start by moving the front seats to their most forward position to gain space. Next, locate the release lever on the underside of the rear seat, near the floor. Press this lever down while pulling the seat upwards to unlock it from the anchor pins. Once unlocked, tilt the seat upwards and forwards to remove it from its position. Repeat this process for both sides of the rear seat. Be careful of any electrical cables or components that may be connected to the seat during removal. Once the rear seat is removed, the disassembly is complete. by ScegliAuto More videos
|
|
For advertising on this site Write to info@scegliauto.com
ScegliAuto is not responsible for any inaccuracy of the data in the lists. To report any inaccuracy or your business (if you own the business in question), please write to info@scegliauto.com
Number of seconds to generate the page: 0.051
(c) ScegliAuto 2026 - info@scegliauto.com - Privacy policy VAT number: IT01247470535 |
