
|
Do it yourself
| |||
| ||||


How to Install the Armrest Storage Compartment on Dacia Sandero
Model: Dacia Sandero
BS
- Years 2008-2012
Learn how to install the armrest storage compartment in the central tunnel trim of a Dacia Sandero. Position the armrest horizontally, then, using a screwdriver, screw in the retaining pins into the plastic of the storage compartment. Tighten all the screws in the armrest storage compartment onto the central tunnel plastic of the car (metal plate). After fitting the new piece onto the central tunnel, proceed with the rest of the installation. Attach the fabric cover to the armrest storage compartment (if present) and test its proper functioning.
Updated on 9 March 2026 by ScegliAuto
Video tutorial
Related tutorials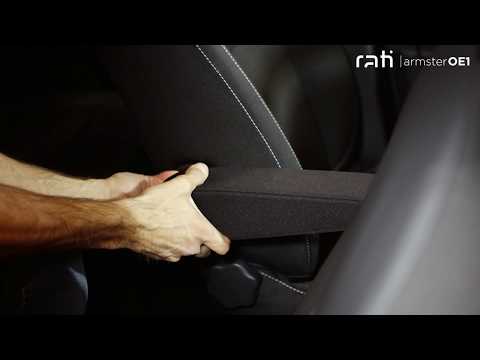
Dacia Sandero
(2012-2020 /
B8)
To replace the armrest located on the side of the seat in the Dacia Sandero, grasp the old armrest and pull it outward to remove it from its housing.…

Dacia Sandero
(2012-2020 /
B8)
In order to install the armrest of the Dacia Sandero, you must first remove the trim around the handbrake lever: to do this, you will need to loosen …
Dacia Sandero
(2008-2012 /
BS)
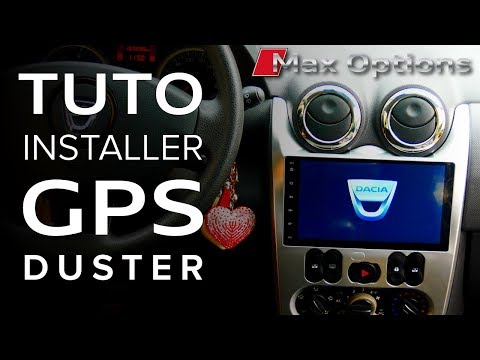
Want to install a sat nav on a Dacia Sandero? Let's remove the radio from the centre console. Remove the stereo trim with a plastic lever (under wher…
Other guides you may be interested in
|
Frequently Asked QuestionsHow to replace the horn on a Renault Duster - Dacia Duster
Today's main instructions will show you the procedure for removing and replacing the horn or sound signal on the Renault Duster, as well as the Dacia Duster. First, open the bonnet of the vehicle and start removing the front bumper by unscrewing all the fixing screws; you will find the horn right in front of the radiator, as shown in the video. At this point, disconnect the electrical connector and unscrew the bracket screw to remove and replace the horn with the new one; finally, reassemble the front bumper! by ScegliAuto More videos
|
|
For advertising on this site Write to info@scegliauto.com
ScegliAuto is not responsible for any inaccuracy of the data in the lists. To report any inaccuracy or your business (if you own the business in question), please write to info@scegliauto.com
Number of seconds to generate the page: 0.365
(c) ScegliAuto 2026 - info@scegliauto.com - Privacy policy VAT number: IT01247470535 |
