
|
Do it yourself
| |||
| ||||


Repairing Nissan/Dacia/Renault Remote Key
Model: Dacia Duster
HS, MK 1
- Years 2010-2017
The key model in question is identical for Renault, Dacia Duster, and Nissan Qashqai. Replacing the entire key can be quite costly as it requires reprogramming directly from the manufacturer. The simplest and most economical solution is to purchase a key shell and replace it yourself. The procedure is straightforward: use a small screwdriver to separate the two parts of the original key. Remove the metal part of the key and take out the electronic board with a small screwdriver. The board may not fit correctly into the new shell. Shape it appropriately with a tool, avoiding breaking the metal tracks. Using a soldering iron, remove the micro switches and replace them with two new ones, soldering them onto the PCB (the switches are often included in the shell package). If the shell does not have a hole to view the status LED, drill it appropriately using a small drill. Close the shell and PCB and perform a few tests to open/close.
Updated on 21 March 2026 by ScegliAuto
Video tutorial
Related tutorials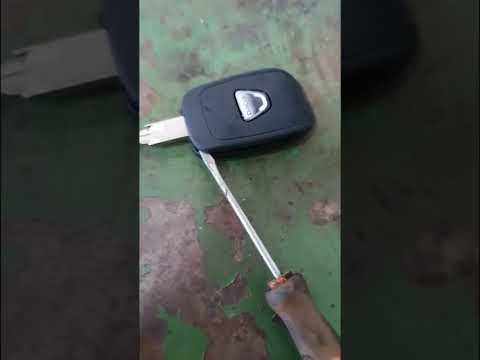
Dacia Duster
(2010-2017 /
HS, MK 1)
Today, we will discover the procedure and instructions that will allow you to disassemble and replace the battery in the key fob of the Dacia Duster.…
Dacia Duster
(2010-2017 /
HS, MK 1)
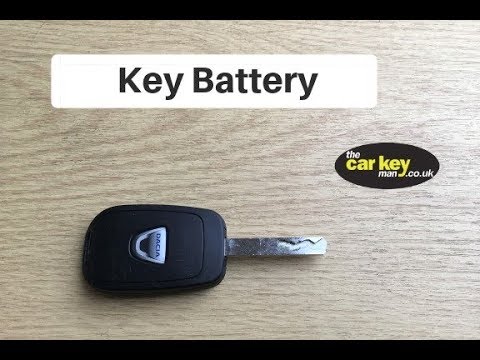
Is the battery in your Dacia Duster key damaged? Here’s how to change it from the remote. Take your remote and, using a screwdriver, separate the key…
Dacia Duster
(2017-2024 /
HM, MK 2)
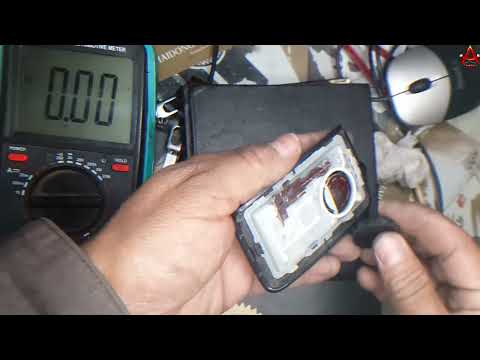
Below are the steps on how to disassemble and replace the battery of the electronic key remote for the Dacia Duster. First, take the remote in hand a…
Other guides you may be interested in
|
Frequently Asked QuestionsHow to Check the Oil Level on a Jeep Renegade?
To check the oil level on a Jeep Renegade, you need to open the bonnet to access the components inside the engine bay: on the lower left side of the engine block, you will find the dipstick for checking the level. This should be pulled out and thoroughly cleaned with a cloth: once cleaned, reinsert it back into its tube and pull it out immediately after. This way, you can check that the oil mark is between the minimum and maximum levels; finally, you can place the dipstick back in its tube. by ScegliAuto More videos
|
|
For advertising on this site Write to info@scegliauto.com
ScegliAuto is not responsible for any inaccuracy of the data in the lists. To report any inaccuracy or your business (if you own the business in question), please write to info@scegliauto.com
Number of seconds to generate the page: 0.113
(c) ScegliAuto 2026 - info@scegliauto.com - Privacy policy VAT number: IT01247470535 |
