
|
Do it yourself
| |||
| ||||


How to Change the Oil on a Dacia Duster
Model: Dacia Duster
HS, MK 1
- Years 2010-2017
Start by lifting the car so you can work underneath it without issues. This will give you access to the lower protection, which you will need to remove. Once the underbody protection is removed, locate the oil drain plug. Before unscrewing this plug, open the top cap to allow proper drainage flow. After removing the top cap, place a container under the lower drain plug to catch the oil and prevent spillage. Once the container is in place, unscrew and remove the drain plug. Allow all the oil in the engine to drain out. Once the oil has finished draining, re-screw and close the drain plug, then lower the car. Next, position a funnel to use for adding the new oil. Once this step is completed, you will have successfully changed the oil. It is highly recommended to also replace the oil filter every time you change the oil.
Updated on 1 May 2026 by ScegliAuto
Video tutorial
Related tutorials
Dacia Duster
(2017-2024 /
HM, MK 2)
Today we will explain how to perform the engine oil and oil filter replacement on a 2023 Dacia Duster. The oil we will use for the replacement is "Ca…

Dacia Duster
(2010-2017 /
HS, MK 1)
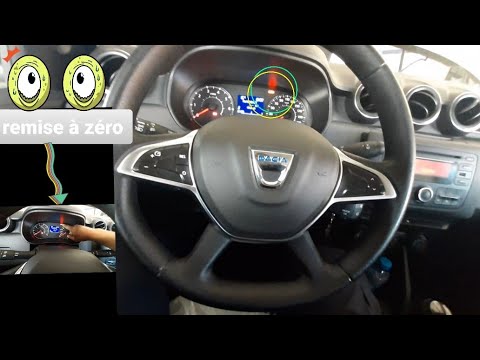
In today's video, we will see how to reset the oil change on a first-generation Dacia Duster, a model produced until 2017. We start the procedure by …
Dacia Duster
(2017-2024 /
HM, MK 2)
Today, you will learn the steps to reset the maintenance service warning light for the oil change on a Dacia Duster. First, get inside the vehicle an…
Other guides you may be interested in
|
Frequently Asked QuestionsHow to Open the Bonnet on the Lancia Y
To open the bonnet on this vehicle, follow these simple instructions: first, open the driver's door and locate the lever positioned just below the dashboard, marked with an image of the vehicle with the bonnet open. Pull this lever towards you until you hear a "click" indicating the bonnet is released. Next, exit the cabin and stand in front of the bonnet to disengage the safety catch and complete the opening. To do this, slightly lift the bonnet, locate the yellow lever underneath, and pull it to the left to fully release and open the bonnet. by ScegliAuto More videos
|
|
For advertising on this site Write to info@scegliauto.com
ScegliAuto is not responsible for any inaccuracy of the data in the lists. To report any inaccuracy or your business (if you own the business in question), please write to info@scegliauto.com
Number of seconds to generate the page: 0.314
(c) ScegliAuto 2026 - info@scegliauto.com - Privacy policy VAT number: IT01247470535 |
