
|
Do it yourself
| |||
| ||||


How to Replace the Front Headlight Bulb on the Dacia Dokker
Model: Dacia Dokker
MK 1
- Years 2013-2024
Replacing the front headlight bulb is a straightforward DIY maintenance task, and it is advisable to always replace them in pairs to ensure uniform lighting; given the technological advancements in this field, it is now best to opt for LED bulbs that truly offer excellent lighting efficiency; with that said, for the Dokker, the front headlight bulbs use an H4 fitting. To replace them, open the bonnet, disconnect the power connector from the bulb, remove the rubber protective cover, and then unclip the retaining springs of the bulb to extract it from its housing and replace it.
Updated on 28 May 2026 by ScegliAuto
Video tutorial
Related tutorials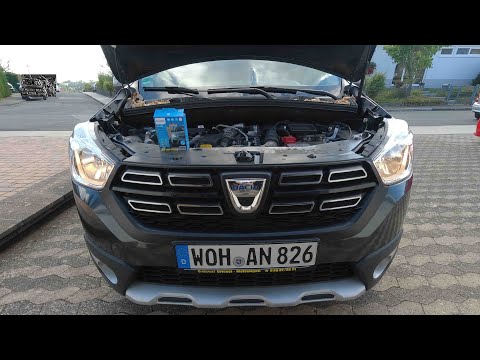
Dacia Dokker
(2013-2024 /
MK 1)
To replace the front headlight bulb in the Dacia Dokker, open the bonnet to access the components located inside the engine compartment: here you wil…
Dacia Dokker
(2013-2024 /
MK 1)
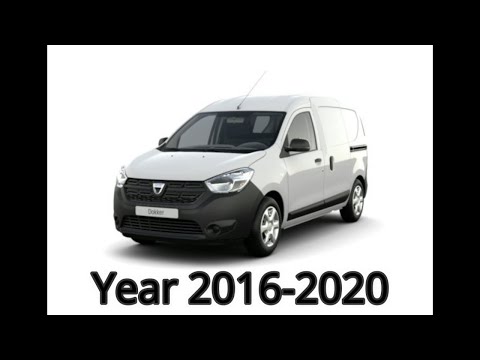
Let's see how to remove and replace the bulbs of the front headlamp on a Dacia Dokker. Lift the front bonnet of the car and access the back of the fr…

Dacia Dokker
(2013-2024 /
MK 1)
In today's article, we will illustrate the procedure for replacing the front headlight bulb on the Dacia Dokker. This procedure does not require any …
Other guides you may be interested in
|
How to Open the Bonnet on the Lancia Y
To open the bonnet on this vehicle, follow these simple instructions: first, open the driver's door and locate the lever positioned just below the dashboard, marked with an image of the vehicle with the bonnet open. Pull this lever towards you until you hear a "click" indicating the bonnet is released. Next, exit the cabin and stand in front of the bonnet to disengage the safety catch and complete the opening. To do this, slightly lift the bonnet, locate the yellow lever underneath, and pull it to the left to fully release and open the bonnet. by ScegliAuto More videos
|
|
For advertising on this site Write to info@scegliauto.com
ScegliAuto is not responsible for any inaccuracy of the data in the lists. To report any inaccuracy or your business (if you own the business in question), please write to info@scegliauto.com
Number of seconds to generate the page: 0.459
(c) ScegliAuto 2026 - info@scegliauto.com - Privacy policy VAT number: IT01247470535 |
