Do it yourself
Frequently asked questions about cars and motorcycles
  1. Car
  2. :
  3. Fiat
  4. :
  5. Punto
  6. : Air conditioning

Fiat Punto - Air conditioning

Air Conditioning Fiat Punto (2005-2018 / mk 3, punto evo, 199, grande punto)

Fiat Punto (2005-2018 / MK 3, Puntoevo, 199, Grandepunto)
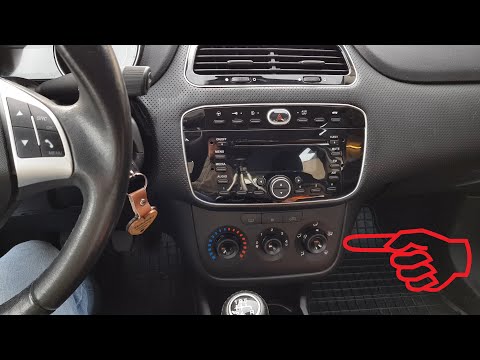
Dismantling Air Knobs on Fiat Punto Evo

Do you want to remove the air knobs from the Punto to replace the bulbs? Let's see how to dismantle them from inside the central dashboard. First, remove the …Read all…
Posted on 19 June 2026 by ScegliAuto
Fiat Punto (2005-2018 / MK 3, Puntoevo, 199, Grandepunto)
How to Change the Heater Resistor on a Fiat Grande Punto

Is the heating not working as it should? Here’s how to remove the fan resistor. Use a lever to remove the plastic cover under the dashboard, then unscrew the …Read all…
Posted on 7 April 2026 by ScegliAuto
Fiat Punto (1993-1999 / MK 1, 176)
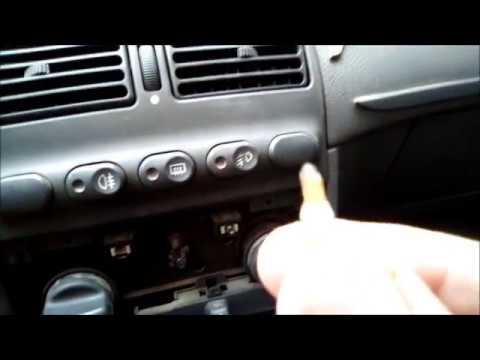
Removing the Air Vent Knobs on a Fiat Punto

Let's look at removing the air vent knobs on a Fiat Punto to replace the bulbs. Unscrew the screws located at the bottom of the air vent knobs, prepare to …Read all…
Posted on 6 April 2026 by ScegliAuto
Fiat Punto (2005-2018 / MK 3, Puntoevo, 199, Grandepunto)
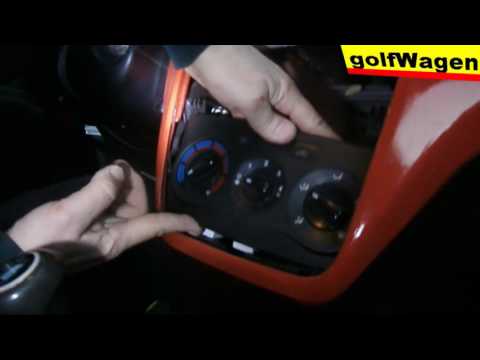
How to Remove the Air Control Knobs on a Fiat Grande Punto

Do you want to remove the air conditioning knobs from your Fiat Grande Punto? Follow these steps. First, remove the stereo using the provided keys, pull out …Read all…
Posted on 11 March 2026 by ScegliAuto
Fiat Punto (2005-2018 / MK 3, Puntoevo, 199, Grandepunto)
Fuse Diagram (Air Conditioning) Fiat Grande Punto

If the air conditioning does not activate (the compressor does not start or the electromagnetic clutch of the pulley does not engage), the first thing to check …Read all…
Posted on 1 March 2026 by ScegliAuto

Air Conditioning Fiat Punto (1993-1999 / mk 1, 176)

Fiat Punto (2005-2018 / MK 3, Puntoevo, 199, Grandepunto)
Dismantling Air Knobs on Fiat Punto Evo

Do you want to remove the air knobs from the Punto to replace the bulbs? Let's see how to dismantle them from inside the central dashboard. First, remove the …Read all…
Posted on 19 June 2026 by ScegliAuto
Fiat Punto (2005-2018 / MK 3, Puntoevo, 199, Grandepunto)
How to Change the Heater Resistor on a Fiat Grande Punto

Is the heating not working as it should? Here’s how to remove the fan resistor. Use a lever to remove the plastic cover under the dashboard, then unscrew the …Read all…
Posted on 7 April 2026 by ScegliAuto
Fiat Punto (1993-1999 / MK 1, 176)
Removing the Air Vent Knobs on a Fiat Punto

Let's look at removing the air vent knobs on a Fiat Punto to replace the bulbs. Unscrew the screws located at the bottom of the air vent knobs, prepare to …Read all…
Posted on 6 April 2026 by ScegliAuto
Fiat Punto (2005-2018 / MK 3, Puntoevo, 199, Grandepunto)
How to Remove the Air Control Knobs on a Fiat Grande Punto

Do you want to remove the air conditioning knobs from your Fiat Grande Punto? Follow these steps. First, remove the stereo using the provided keys, pull out …Read all…
Posted on 11 March 2026 by ScegliAuto
Fiat Punto (2005-2018 / MK 3, Puntoevo, 199, Grandepunto)
Fuse Diagram (Air Conditioning) Fiat Grande Punto

If the air conditioning does not activate (the compressor does not start or the electromagnetic clutch of the pulley does not engage), the first thing to check …Read all…
Posted on 1 March 2026 by ScegliAuto

Accelerator (1) Cigarette lighter (4) Airbag (17) Alternator (8) Speaker (12) Shocks (19) Antenna (9) Air conditioning (5) Car stereo (59) Anti-roll bar (2) Roof rack bars (5) Battery (27) Ignition coil (2) Air vents (6) Control arm (11) Transmission (14) Spark plugs (28) Glow plugs (11) Carburetor (1) Body (21) Glove compartment (7) Control unit (9) Key (35) Timing belt (38) V-belt (6) Air conditioner (1) A/C controls (7) Onboard computer (7) Checks and maintenance (87) Oil pan (5) Throttle body (9) Dashboard (19) Shifter boot (2) CV boot (3) Bearing (6) Brake rotors (11) Electric cooling fan (1) Side marker light (2) Headlight (32) Tail light (31) Fog lights (12) Diesel particulate filter (2) Air filter (43) Cabin air filter (41) Fuel filter (5) Diesel fuel filter (29) Oil filter (13) Parking brake (11) Clutch (15) Grille (2) Fuel injectors (9) Window switch (2) Accessory kit (8) Light bulb (20) Side marker bulb (8) Headlight bulb (56) Tail light bulb (27) Interior dome light bulb (11) Antifreeze coolant (8) Instrument panel light (7) License plate light (10) (6) Rear window (2) Handle (10) Exhaust muffler (6) Engine (12) Power window motor (11) Starter motor (13) Electric power steering motor (4) Transmission fluid (5) Brake fluid (4) Engine oil (21) Clock (36) Door trim panel (46) Windshield (1) Front bumper (18) Rear bumper (11) Brake pads (30) Hydraulic pistons (4) Tires (2) Shift knob (17) Pump (16) Fuel pump (16) Car door (11) Push button (4) Power window switch (3) Instrument cluster (13) Radiator (9) Heater core (13) Wheel (4) Fuse box (89) Seat (34) Axle shaft (1) Crankshaft position sensor (4) Engine coolant temperature sensor (3) Parking sensors (1) Door lock (18) Oxygen sensor (2) Suspension system (4) Side mirror (37) Rearview mirror (1) Warning light – error code (20) (4) Tire pressure warning light (4) Service warning light (30) Manufacturer emblem (6) Engine mount (5) Brake drums and shoes (5) Fuel cap (12) Windshield wipers (28) Thermostat (12) Cylinder head (6) Tie rods (2) Drivetrain (2) Brake lines (1) Oil vapor hose (1) Center console tunnel (4) Windshield washer nozzle (3) Valve (3) EGR valve (9) Blower motor (14) Side window (4) Steering wheel (21)

How to Replace the External Wing Mirror on a Ford C MAX

In the event of a breakage, it will be necessary to replace the external wing mirror on the 2011 Ford C MAX. This operation is easily performed independently. Start by removing the internal cover of the mirror with a plastic lever. Then, use a socket wrench to remove the securing pins. Once the pins are removed, you can take off the mirror, but not before disconnecting the power connectors. Then proceed to fit the new mirror. First, connect the connectors and then secure the mirror to its housing with the pins. Refit the plastic cover and test the operation of the electric mirror using the controls.

Watch the video!


by ScegliAuto

More videos