
|
Do it yourself
| |||
| ||||


Fiat Punto - EngineEngine Fiat Punto (1999-2011 / mk 2, 188) Fiat Punto (1999-2011 / MK 2, 188)
A small modification to improve the performance of a Fiat Singlepoint engine. In this video, we see an easy, small modification for Fiat cars, but it is limited to single-point engines: such as the Uno Fire, the Panda Fire, the Punto …Read all… Posted on 9 January 2026 by ScegliAuto 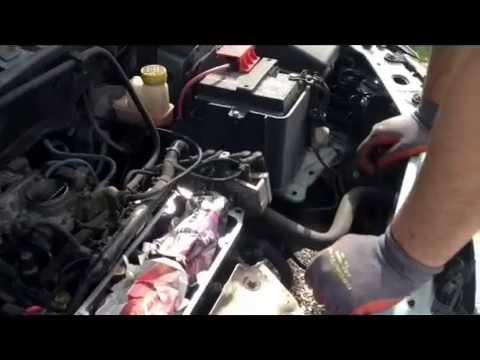 Fiat Punto (1999-2011 / MK 2, 188)
Replacing the Rocker Cover Gasket on a Fiat Punto Let's see how to remove the rocker cover gasket on a Fiat Punto. First, remove the plastic soundproofing panel from the cylinder head and take it out. Next, …Read all… Posted on 5 April 2026 by ScegliAuto 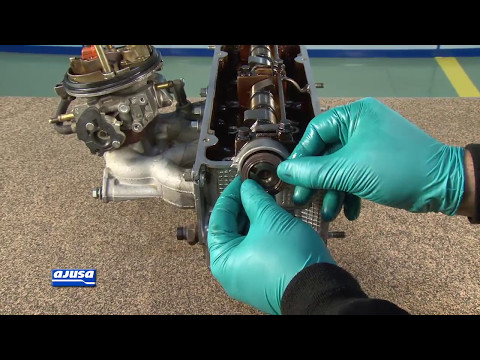 Fiat Punto (1999-2011 / MK 2, 188)
Replacing the Camshaft Oil Seal When assembling the engine, it is always advisable to use a new set of gaskets and oil seals to avoid unpleasant leaks after installation. The camshaft oil …Read all… Posted on 24 February 2026 by ScegliAuto 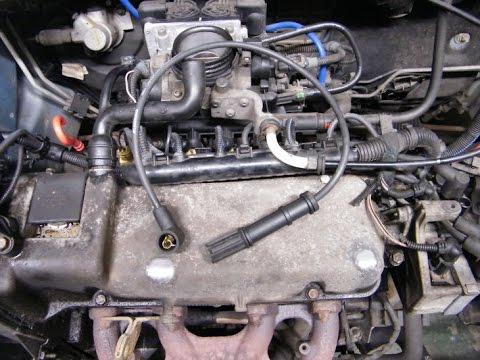 Fiat Punto (1999-2011 / MK 2, 188)
Instructions for Replacing Spark Plug Leads To carry out this maintenance, first ensure the engine is cold to avoid unpleasant burns. To access the spark plug leads, you must first remove the air filter …Read all… Posted on 24 February 2026 by ScegliAuto 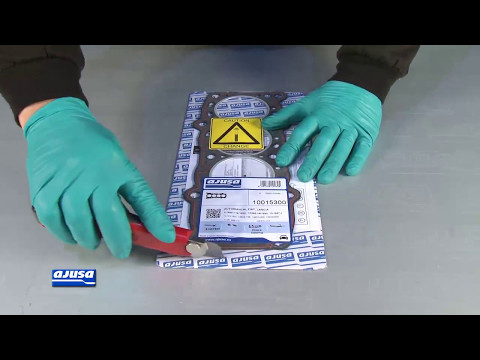 Fiat Punto (1999-2011 / MK 2, 188)
Cylinder Head Gasket Replacement Before applying the new cylinder head gasket, it is absolutely essential to check the flatness of the surfaces, both on the head side and the cylinder block …Read all… Posted on 24 February 2026 by ScegliAuto 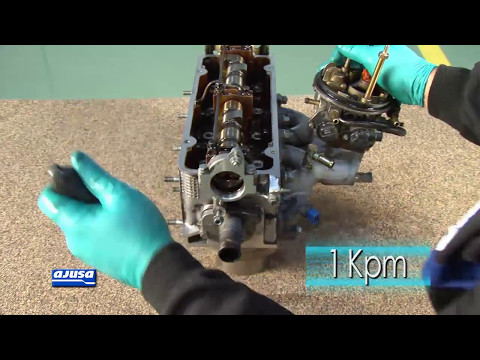 Fiat Punto (1999-2011 / MK 2, 188)
Complete Cylinder Head Gasket Kit First, check, as shown in the images, that the surface of the cylinder head is even. Next, position the gasket first and then the intake manifold. At every …Read all… Posted on 22 February 2026 by ScegliAuto 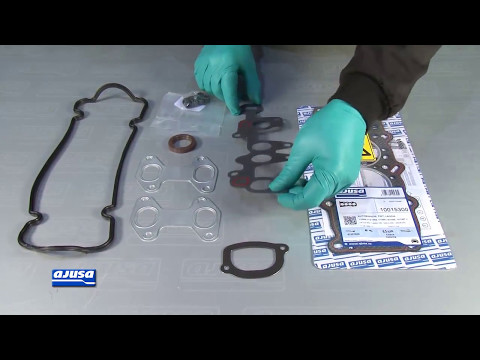 Fiat Punto (1999-2011 / MK 2, 188)
Replacing the Intake Manifold Gasket Before applying the new gasket to the intake manifold, thoroughly clean the gasket seating surfaces, both on the manifold side and the cylinder head side, to …Read all… Posted on 21 February 2026 by ScegliAuto 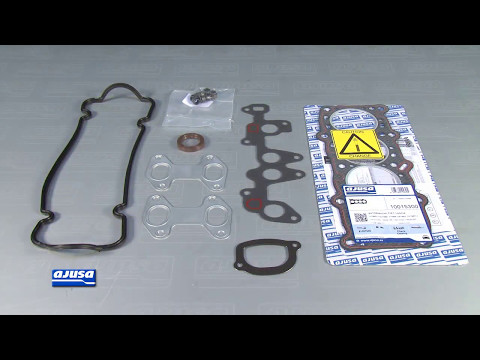 Fiat Punto (1999-2011 / MK 2, 188)
Installing the Cylinder Head Gasket The cylinder head gasket is a static sealing element that sits between surfaces to prevent the leakage of fluids or gases. These gaskets usually fail due to …Read all… Posted on 20 February 2026 by ScegliAuto 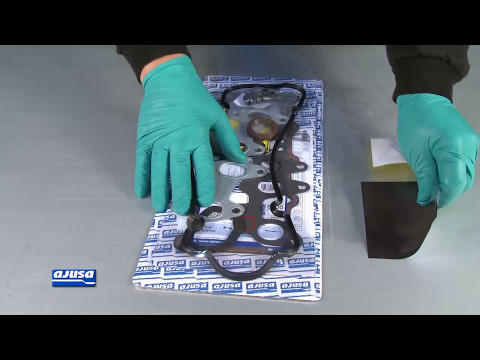 Fiat Punto (1999-2011 / MK 2, 188)
Replacing the Exhaust Manifold Gasket Before applying the new gasket, it is absolutely essential to thoroughly clean the gasket seating, both on the cylinder head side and the manifold side: remove …Read all… Posted on 20 February 2026 by ScegliAuto 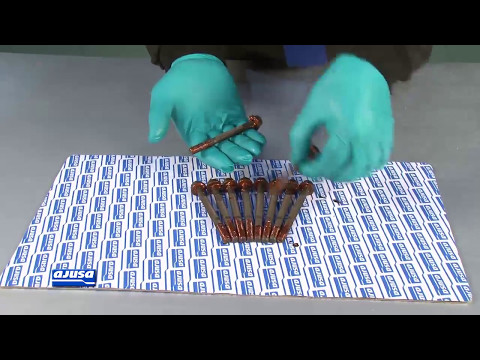 Fiat Punto (1999-2011 / MK 2, 188)
Instructions for Fitting Cylinder Head Bolt Kit Before applying the new bolts, check the thread pitch with a thread gauge, select the corresponding tap, and re-tap the threaded holes, taking care not to let …Read all… Posted on 18 February 2026 by ScegliAuto 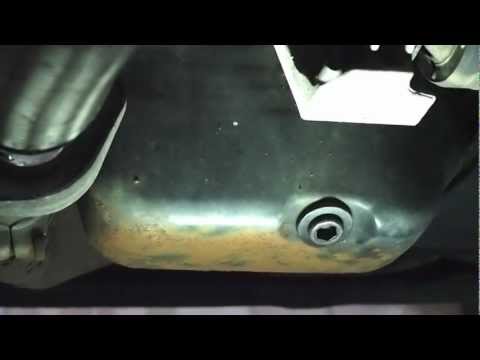 Fiat Punto (1999-2011 / MK 2, 188)
Cleaning a Rusty Oil Sump If untreated, a rusty oil sump can even develop holes, leading to oil leaks and potential engine damage; therefore, it is advisable to restore it. Lift the …Read all… Posted on 12 February 2026 by ScegliAuto  Fiat Punto (1999-2011 / MK 2, 188)
Additives, Checks and Maintenance Regular maintenance of the vehicle ensures a long life. Adding specific additives to the engine oil, gearbox oil, and petrol improves performance, cold starts, …Read all… Posted on 12 February 2026 by ScegliAuto Accelerator (1) Cigarette lighter (4) Airbag (17) Alternator (8) Speaker (12) Shocks (19) Antenna (9) Air conditioning (5) Car stereo (59) Anti-roll bar (2) Roof rack bars (5) Battery (27) Ignition coil (2) Air vents (6) Control arm (11) Transmission (14) Spark plugs (28) Glow plugs (11) Carburetor (1) Body (21) Glove compartment (7) Control unit (9) Key (35) Timing belt (38) V-belt (6) Air conditioner (1) A/C controls (7) Onboard computer (7) Checks and maintenance (87) Oil pan (5) Throttle body (9) Dashboard (19) Shifter boot (2) CV boot (3) Bearing (6) Brake rotors (11) Electric cooling fan (1) Side marker light (2) Headlight (32) Tail light (31) Fog lights (12) Diesel particulate filter (2) Air filter (43) Cabin air filter (41) Fuel filter (5) Diesel fuel filter (29) Oil filter (13) Parking brake (11) Clutch (15) Grille (2) Fuel injectors (9) Window switch (2) Accessory kit (8) Light bulb (20) Side marker bulb (8) Headlight bulb (56) Tail light bulb (27) Interior dome light bulb (11) Antifreeze coolant (8) Instrument panel light (7) License plate light (10) (6) Rear window (2) Handle (10) Exhaust muffler (6) Engine (12) Power window motor (11) Starter motor (13) Electric power steering motor (4) Transmission fluid (5) Brake fluid (4) Engine oil (21) Clock (36) Door trim panel (46) Windshield (1) Front bumper (18) Rear bumper (11) Brake pads (30) Hydraulic pistons (4) Tires (2) Shift knob (17) Pump (16) Fuel pump (16) Car door (11) Push button (4) Power window switch (3) Instrument cluster (13) Radiator (9) Heater core (13) Wheel (4) Fuse box (89) Seat (34) Axle shaft (1) Crankshaft position sensor (4) Engine coolant temperature sensor (3) Parking sensors (1) Door lock (18) Oxygen sensor (2) Suspension system (4) Side mirror (37) Rearview mirror (1) Warning light – error code (20) (4) Tire pressure warning light (4) Service warning light (30) Manufacturer emblem (6) Engine mount (5) Brake drums and shoes (5) Fuel cap (12) Windshield wipers (28) Thermostat (12) Cylinder head (6) Tie rods (2) Drivetrain (2) Brake lines (1) Oil vapor hose (1) Center console tunnel (4) Windshield washer nozzle (3) Valve (3) EGR valve (9) Blower motor (14) Side window (4) Steering wheel (21) |
How to Replace the External Wing Mirror on a Ford C MAX
In the event of a breakage, it will be necessary to replace the external wing mirror on the 2011 Ford C MAX. This operation is easily performed independently. Start by removing the internal cover of the mirror with a plastic lever. Then, use a socket wrench to remove the securing pins. Once the pins are removed, you can take off the mirror, but not before disconnecting the power connectors. Then proceed to fit the new mirror. First, connect the connectors and then secure the mirror to its housing with the pins. Refit the plastic cover and test the operation of the electric mirror using the controls. by ScegliAuto More videos
|
|
For advertising on this site Write to info@scegliauto.com
ScegliAuto is not responsible for any inaccuracy of the data in the lists. To report any inaccuracy or your business (if you own the business in question), please write to info@scegliauto.com
Number of seconds to generate the page: 0.008
(c) ScegliAuto 2026 - info@scegliauto.com - Privacy policy VAT number: IT01247470535 |
