
|
Do it yourself
| |||
| ||||


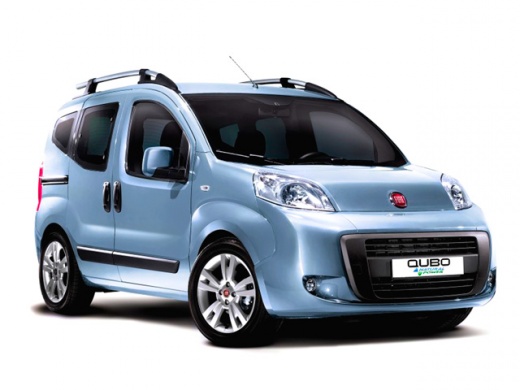
How to repair the rear light with a melted connector in a Fiat Qubo
Model: Fiat Qubo
MK 1
- Years:
2008, 2009, 2010, 2011, 2012, 2013, 2014, 2015, 2016, 2017, 2018, 2019
Video tutorial
Let's see how to repair the rear light that has a melted connector, a very common problem on many Fiat and Lancia utility vehicles. Over time, the ground pin, having a section that is too thin, overheats and ends up melting the plastic of the connector, creating false contacts and light malfunctions. I will explain step by step how to solve the problem in a simple and definitive way. I will guide you in replacing the connector and reinforcing the ground to prevent it from happening again. With a little skill and the right tools, you will do a clean and safe job, without stress. Let's start: disconnect the battery for safety. Then remove the headlight by unscrewing the bolts and disconnecting the burnt connector. If it is too damaged, cut it off and get a new compatible connector, you can find it online or at a salvage yard. Now strip the wires and connect them to the new connector using clamps or soldering with heat shrink tubing to avoid future problems. Reassemble everything, reconnect the battery, and test the lights. If it works, you're good to go. If you don't feel comfortable doing it yourself, contact a specialized workshop.
Posted on 16 March 2025 by ScegliAuto
Related tutorials
Fiat Qubo
(2008-2019 /
MK 1)
To remove the wipers from the Fiat Qubo, you need to take off the covers that hide the bolt securing the wiper, then remove the three bolts at the ba…

Fiat Qubo
(2008-2019 /
MK 1)
In this short guide video, you will learn how to remove the rear seats from a Fiat Qubo; primarily, we will cover the essential steps. First, open th…

Fiat Qubo
(2008-2019 /
MK 1)
Below, you will find the instructions that will allow you to remove and replace the window switch panel on a Fiat Qubo in simple and quick steps. Fir…
Other guides you may be interested in
|
How to Remove the Toll Tag Holder from the Car Windscreen
The toll tag holder is usually attached to the car windscreen to ensure that the toll tag functions immediately when passing through barriers. However, if you decide to remove the holder, you should follow this procedure: - Insert the toll tag into the holder; - Pull the holder inwards to detach it from the windscreen; you can use a glass scraper or a stiff plastic card to assist you; After removing the holder, it is essential to remove the adhesive from the windscreen. To remove the adhesive, we recommend using a solvent-based spray that will remove the glue without clouding the area. by ScegliAuto More videos
|
|
For advertising on this site Write to info@scegliauto.com
ScegliAuto is not responsible for any inaccuracy of the data in the lists. To report any inaccuracy or your business (if you own the business in question), please write to info@scegliauto.com
Number of seconds to generate the page: 0.059
(c) ScegliAuto 2026 - info@scegliauto.com - Privacy policy VAT number: IT01247470535 |
