
|
Do it yourself
| |||
| ||||


Electrical diagram of the Fiat Ducato X250
Model: Fiat Ducato
X250
- Years 2006-2014
In this video, we see the electrical diagram of the Fiat Ducato X250, a fundamental tool for various maintenance and repair operations. It is mainly used to diagnose electrical faults, allowing for the quick identification of problems in the vehicle's electrical system, such as short circuits, interruptions, or malfunctions of components. It also allows for the necessary repairs, providing a detailed guide for repairing and replacing damaged electrical components. It is helpful for connecting additional accessories such as car radios, alarm systems, or other devices, without damaging the main system. Understanding how an electrical system is structured is always a valuable ally for those who need to intervene.
Posted on 31 March 2025 by ScegliAuto
Video tutorial
Related tutorials
Fiat Ducato
(2006-2014 /
X250)
Let's find out in this guide how to replace the coolant of the Fiat Ducato X250, in simple steps. First of all we open the bonnet and start by removi…
Fiat Ducato
(2006-2014 /
X250)
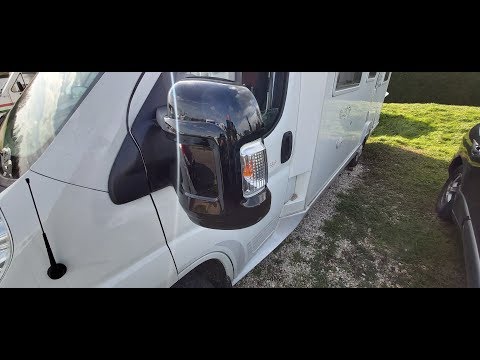
Today we will see how to remove the exterior rearview mirror of a Fiat Ducato X250, following these simple instructions. Let's open the front door, f…

Fiat Ducato
(2006-2014 /
X250)
Today we will discover the instructions that will allow us to identify the positioning and the fuse layout of the Fiat Ducato, in simple steps. First…
Other guides you may be interested in
|
How to Replace the Bulbs on a Nissan Almera Rear Light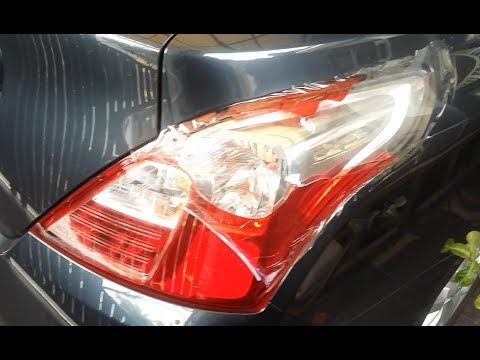
Do you want to change the damaged bulb of a rear light on a Nissan Almera? Follow this video carefully to proceed correctly. Open the boot, remove the fabric side covering, and detach the plastic rivets on the covering. Unscrew the retaining bolts of the rear light using a socket spanner. Once the light is free from the bolts, pull the rear light out of the metal housing, then disconnect the power cable. Place the stop light on a comfortable surface and replace all worn bulbs. To refit the rear light, position it in its housing and tighten all screws after reconnecting the lighting connector. by ScegliAuto More videos
|
|
For advertising on this site Write to info@scegliauto.com
ScegliAuto is not responsible for any inaccuracy of the data in the lists. To report any inaccuracy or your business (if you own the business in question), please write to info@scegliauto.com
Number of seconds to generate the page: 0.046
(c) ScegliAuto 2026 - info@scegliauto.com - Privacy policy VAT number: IT01247470535 |