
|
Do it yourself
| |||
| ||||


How to replace the rear headlight bulb of the Fiat Panda
Model: Fiat Panda
169, MK 2
- Years 2003-2012
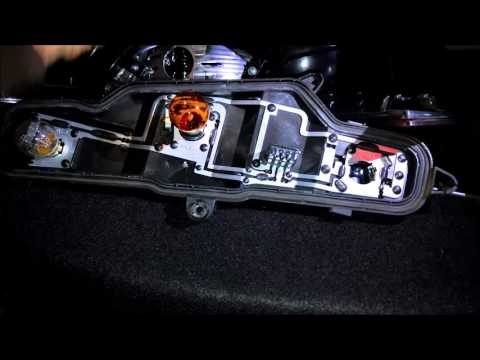
Today we will explain how to replace the rear headlight bulbs of the Fiat Panda model 2. To replace the bulbs, we need to open the trunk and unscrew the external fixing screws of the headlight using a 10mm socket wrench. The headlight is held by plastic joints, so to avoid damaging both the headlight and the bodywork, we insert a cloth between them. We use a medium flat-head screwdriver to pry and remove the headlight. Disconnect the connector to completely remove the headlight and use a Phillips screwdriver to unscrew the screws on the bulb support plate in order to replace them. Once the bulbs are replaced, we lock the plate onto the headlight by screwing the screws, reconnect the connector, and insert the headlight back into its housing. Push the headlight in and use a 10mm socket wrench to screw the three external screws to secure the headlight. Turn on the vehicle lights to test the operation of the bulbs.
Posted on 12 November 2025 by ScegliAuto
Video tutorial
Related tutorials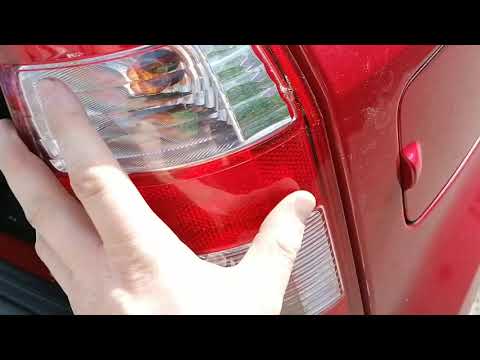
Fiat Panda
(2003-2012 /
169, MK 2)
To replace the rear light bulb on a Fiat Panda, open the boot to access the two bolts located between the seal and the light. Once these are loosened…
Fiat Panda
(2012-2026 /
319, MK 3)
To replace the rear headlamp bulb on the Fiat Panda, open the tailgate to access the two bolts located between the seal and the headlamp. This will a…

Fiat Panda
(2012-2023 /
)
If you own a Fiat Panda Mk3 and want to replace the bulb of one of the rear lights on your own, all you have to do is carefully read and follow the f…
Other guides you may be interested in
|
How to Open a Stuck Boot on the Peugeot 407?
On the Peugeot 407, the boot may become stuck, possibly due to a problem with the control button or the lock actuator. In such cases, you can perform an emergency opening by following the simple procedure shown in this tutorial. First, open the rear doors, then lower the seat back by operating the release lever. Next, go inside the boot, locate the lock, and manually operate it using a flathead screwdriver. The boot will then be free to open. by ScegliAuto More videos
|

|
For advertising on this site Write to info@scegliauto.com
ScegliAuto is not responsible for any inaccuracy of the data in the lists. To report any inaccuracy or your business (if you own the business in question), please write to info@scegliauto.com
Number of seconds to generate the page: 0.499
(c) ScegliAuto 2026 - info@scegliauto.com - Privacy policy VAT number: IT01247470535 |
