
|
Do it yourself
| |||
| ||||


Dipped headlights: how to install the repair kit on the Fiat Panda 169.
Model: Fiat Panda
169, MK 2
- Years 2003-2012
On the Fiat Panda 169, the restoration of the low beam headlights using a repair kit is performed with the vehicle turned off and safely. From the back of the headlight, the access cover is removed, and the work area is cleared. The lamp connector is disengaged, and the relevant clip/support is loosened, then the worn component is extracted. At this point, the elements of the kit are presented and positioned in the designated housings; the hardware is tightened evenly, avoiding putting stress on the plastics. Before closing, the lamp (if applicable) is reinstalled, and the correct locking of the support is checked; the connector is reconnected, the rear cover is restored, and the operation of the low beam is checked with the ignition on. Finally, if necessary, the beam is checked on a wall to assess any vertical adjustment of the headlight.
Posted on 11 December 2025 by ScegliAuto
Video tutorial
Related tutorials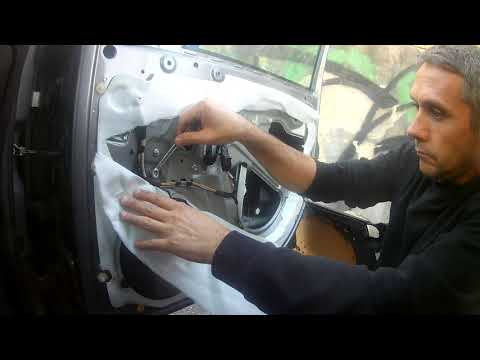
Fiat Panda
(2003-2012 /
169, MK 2)
This guide shows how to replace the electric window regulator on the Fiat Panda 169. First, remove the inner door panel and the speaker. Detach the s…

Fiat Panda
(2003-2012 /
169, MK 2)
This video outlines all the necessary steps to replace the thermostat on a Fiat Panda 169, including how to replace the temperature sensor. By follow…
Fiat Panda
(2003-2012 /
169, MK 2)
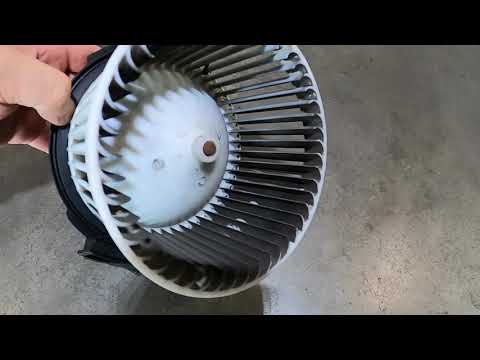
In this video tutorial, you will see how to remove the cabin fan from a Fiat Panda 169. First, get inside the car and remove the plastic side panel n…
Other guides you may be interested in
|
How to Check the Oil Level on a Jeep Renegade?
To check the oil level on a Jeep Renegade, you need to open the bonnet to access the components inside the engine bay: on the lower left side of the engine block, you will find the dipstick for checking the level. This should be pulled out and thoroughly cleaned with a cloth: once cleaned, reinsert it back into its tube and pull it out immediately after. This way, you can check that the oil mark is between the minimum and maximum levels; finally, you can place the dipstick back in its tube. by ScegliAuto More videos
|

|
For advertising on this site Write to info@scegliauto.com
ScegliAuto is not responsible for any inaccuracy of the data in the lists. To report any inaccuracy or your business (if you own the business in question), please write to info@scegliauto.com
Number of seconds to generate the page: 0.096
(c) ScegliAuto 2026 - info@scegliauto.com - Privacy policy VAT number: IT01247470535 |
