
|
Do it yourself
| |||
| ||||


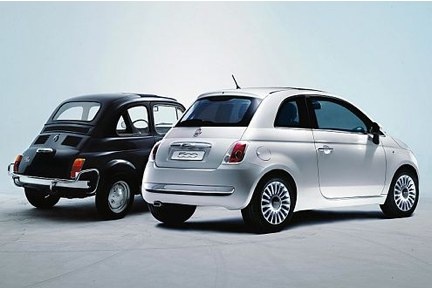
Replacing the Indicator Bulb on a Fiat 500
Model: Fiat 500
312
- Years:
2007, 2008, 2009, 2010, 2011, 2012, 2013, 2014, 2015, 2016, 2017, 2018
Video tutorial
Replace the indicator bulb mounted in the (left front) lamp of a Fiat 500. Open the bonnet and secure it; locate the rear of the front lamp (indicator), open the plastic inspection cap (located in the wheel arch), and replace the bulbs with the same size and voltage. After replacing the damaged bulbs, refit the lamp's inspection cap and close the wheel arch. Repeat the same procedure on the other front indicator lamp. Finally, test the correct operation of the bulbs you have replaced. -Screwdriver -Plastic lever -Protective gloves.
Updated on 8 March 2026 by ScegliAuto
Related tutorials
Fiat 500
(2007-2024 /
312)
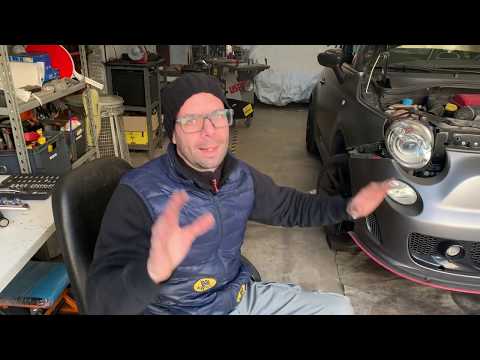
Remove the indicator bulb if damaged or if you need to replace the light unit itself. Use a lever to remove the light unit from the bodywork (do not …
Fiat 500
(2007-2024 /
312)
Replacing a front headlight bulb on a Fiat 500 Abarth follows the same steps used for replacing a front headlight bulb on a Fiat 500 or Fiat 500 L. T…
Fiat 500
(2007-2024 /
312)
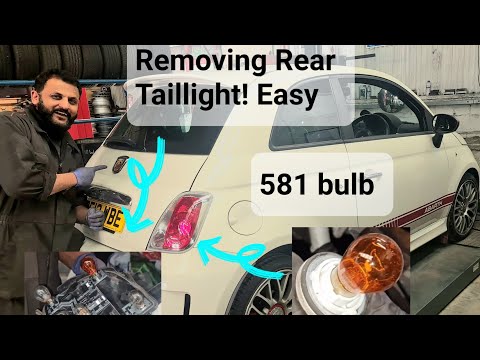
Below are the instructions that will allow you to remove and replace the indicator bulb of the rear light on a Fiat 500 Abarth. First, open the boot …
Other guides you may be interested in |
How to reset the tyre pressure warning light on the Dacia Sandero?
The tyre pressure warning light that appears on the instrument cluster of the Dacia Sandero can be reset by inflating the tyres until they reach the correct pressure value: this value is indicated on the sticker attached to the driver’s door pillar. Once the inflation is complete, navigate through the menu that appears on the instrument cluster to find the option related to the tyres: select this with the OK button, which should then be held down for a few seconds to completely turn off the light. by ScegliAuto More videos
|
|
For advertising on this site Write to info@scegliauto.com
ScegliAuto is not responsible for any inaccuracy of the data in the lists. To report any inaccuracy or your business (if you own the business in question), please write to info@scegliauto.com
Number of seconds to generate the page: 0.081
(c) ScegliAuto 2026 - info@scegliauto.com - Privacy policy VAT number: IT01247470535 |
