
|
Do it yourself
| |||
| ||||


How to Reset the ECU on Fiat Punto 188
Model: Fiat Punto
MK 2, 188
- Years 1999-2011
The video shows us how to replace a faulty ECU with a new (or refurbished) one and how to reset/pair it with the vehicle using diagnostic software. This is not a procedure that can be done without the right tools; you need a laptop with the correct program (MultiEcuscan) along with a modified ELM327 cable or an adapted KKL cable (VAG-COM 409.1). On the MultiEcuScan website, I also sell ready-made cables. Connect to the car with a computer and the diagnostic software, read the old faulty ECU, and read the new one (if refurbished, erase all data to make it clean). The program instructs you to turn on the ignition for 2 minutes, then proceed by following the program's instructions. The video indicates that before the intervention, there was an error with the immobiliser that gets resolved.
Posted on 24 February 2026 by ScegliAuto
Video tutorial
Related tutorials
Fiat Punto
(1999-2011 /
MK 2, 188)
In this video, we will see where the crankshaft sensor is located on the Fiat Punto 1.2 8V. It is positioned on the pulley of the belt near the crank…
Fiat Punto
(1999-2011 /
MK 2, 188)
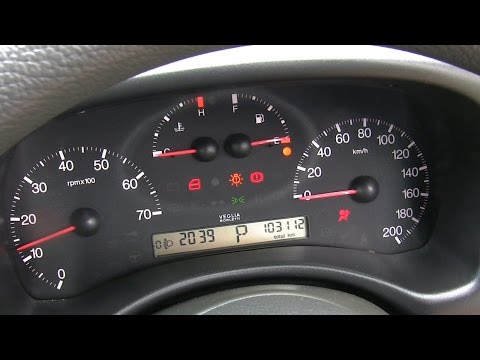
In this video tutorial, you will learn how to reset the airbag warning light on the Fiat Punto. Before performing the operation, ensure you have reso…
Fiat Punto
(1999-2011 /
MK 2, 188)
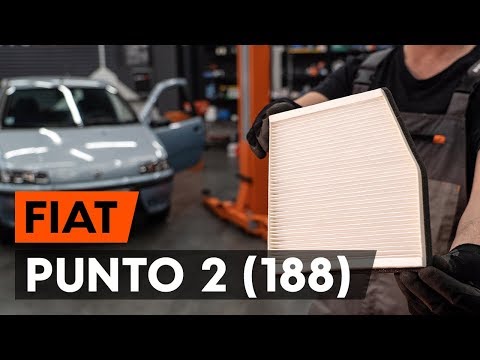
In this video tutorial, learn how to remove and replace the cabin air filter on a Fiat Punto 188. The removal process is very simple and does not req…
Other guides you may be interested in |
Frequently Asked QuestionsHow to Open a Stuck Boot on the Peugeot 407?
On the Peugeot 407, the boot may become stuck, possibly due to a problem with the control button or the lock actuator. In such cases, you can perform an emergency opening by following the simple procedure shown in this tutorial. First, open the rear doors, then lower the seat back by operating the release lever. Next, go inside the boot, locate the lock, and manually operate it using a flathead screwdriver. The boot will then be free to open. by ScegliAuto More videos
|
|
For advertising on this site Write to info@scegliauto.com
ScegliAuto is not responsible for any inaccuracy of the data in the lists. To report any inaccuracy or your business (if you own the business in question), please write to info@scegliauto.com
Number of seconds to generate the page: 0.391
(c) ScegliAuto 2026 - info@scegliauto.com - Privacy policy VAT number: IT01247470535 |
