
|
Do it yourself
| |||
| ||||


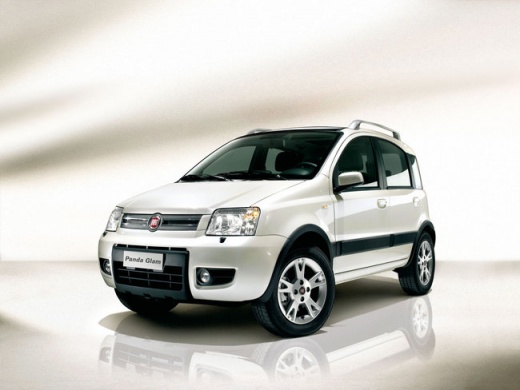
How to Open the Bonnet of a Fiat Panda
Model: Fiat Panda
169, MK 2
- Years:
2003, 2004, 2005, 2006, 2007, 2008, 2009, 2010, 2011, 2012
This video is currently unavailable
Learn how to open the bonnet of a Fiat Panda. Open the door (driver's side) and pull the lever located at the bottom left of the dashboard, then lift the bonnet slightly and move the release lever to the left. Once the bonnet is released, lift it up and secure it with the provided prop rod. Now that the bonnet is open, you can perform your necessary maintenance. To close the bonnet, remove the prop rod and let it drop down from a minimal height. Ensure it closes properly.
Updated on 11 March 2026 by ScegliAuto
Related tutorials
Fiat Panda
(1980-2003 /
MK 1, 141)
This guide will show you the steps to adjust the bonnet lock on the Fiat Panda. First, open the bonnet by pulling the lever inside, and use a socket …

Fiat Panda
(2003-2012 /
169, MK 2)
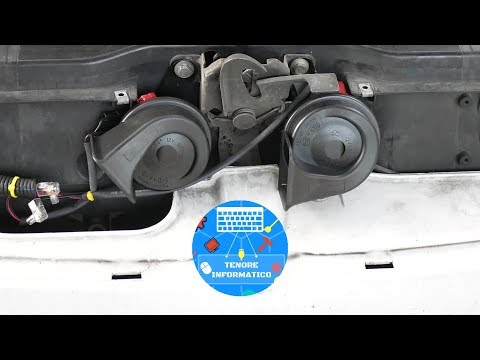
Before you can start, open the bonnet of your Fiat Panda to access the engine bay. Begin by unfastening the clips that secure the air filter cover. T…
Fiat Panda
(2003-2012 /
169, MK 2)
Before you can begin, open the front bonnet of your Fiat Panda. Start by unscrewing and removing the screws that secure the front mask, then remove t…
Other guides you may be interested in |
Frequently Asked QuestionsWhere to Find and How to Remove the Spare Wheel of a Peugeot 5008?
The spare wheel of a Peugeot 5008 is located under the rear of the vehicle. To remove it, you need to lift the third row of seats to access the fixing bolt that holds the spare wheel in position. Using the correct spanner, proceed to unscrew the fixing bolt until the wheel is no longer secured. At this point, you can extract the spare wheel from underneath the vehicle. Once you have completed this step, you are free to fit the spare wheel. Ensure you correctly remount the spare wheel and securely tighten the fixing bolt when you are finished. by ScegliAuto More videos
|
For advertising on this site Write to info@scegliauto.com
ScegliAuto is not responsible for any inaccuracy of the data in the lists. To report any inaccuracy or your business (if you own the business in question), please write to info@scegliauto.com
Number of seconds to generate the page: 0.025
(c) ScegliAuto 2026 - info@scegliauto.com - Privacy policy VAT number: IT01247470535 |
