
|
Do it yourself
| |||
| ||||


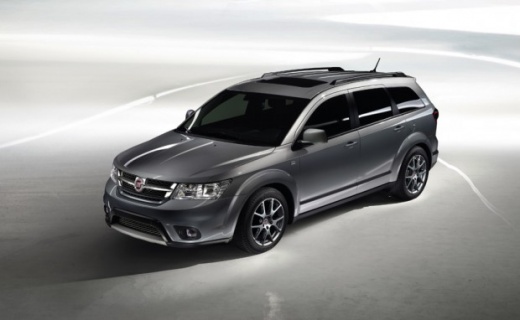
How to Remove the Rear Bumper on a Fiat Freemont
Model: Fiat Freemont
MK 1
- Years:
2011, 2012, 2013, 2014, 2015, 2016
Video tutorial
If you need advice on how to remove the rear bumper of the Freemont, you are in the right place. Park the car safely and open the boot. Remove the two rubber grommets next to the rear light, being careful not to damage it. Remove the light unit by disconnecting the connectors. Now remove the pins along the entire top edge of the bumper; it is unlikely that you will be able to reuse them at the end of the job. Fortunately, replacements can be found online, supplied with the appropriate tools to remove them without damaging the paint. Now move to the wheel arches. Finally, detach the body shell.
Updated on 11 March 2026 by ScegliAuto
Related tutorials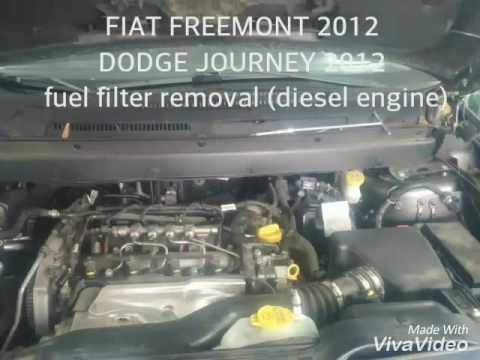
Fiat Freemont
(2011-2016 /
MK 1)
Replace the diesel filter on a Fiat Freemont if you have driven many miles. Here’s how to dismantle and replace it. Lift the engine bonnet of the car…

Fiat Freemont
(2011-2016 /
MK 1)
Do you want to remove the airbag and steering wheel on a Freemont? Here’s how to detach the airbag from the steering wheel of the Freemont. Disconnec…
Fiat Freemont
(2011-2016 /
MK 1)
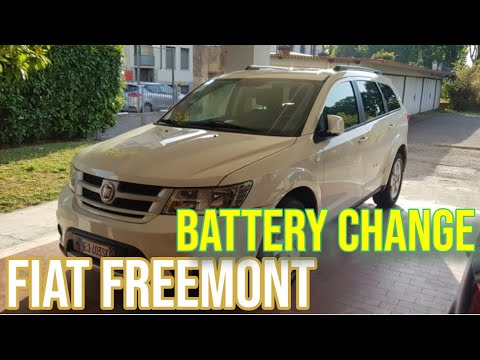
To access the battery on the Fiat Freemont, you need to remove the front right wheel by loosening the appropriate bolts. Once the wheel is removed, y…
ScegliAuto offers an extensive international collection of automotive tutorials available in 12 languages. Each guide combines instructional videos with original explanations written by experienced human editors, along with information about the car models covered.
Other guides you may be interested in
|
Fuse Box Location and Diagram for BMW 3 Series
These brief steps will show you where to find the fuse boxes and how to access their diagram for the BMW 3 Series. First, open the front passenger door and start opening the glove compartment; then remove the plastic cover at the bottom to access the interior fuse box, as shown in the video. You will find another fuse box in the engine compartment by removing the plastic cover located at the top right; the owner's manual contains the fuse diagram, which is useful for replacing the fuses! by ScegliAuto More videos
|
|
For advertising on this site Write to info@scegliauto.com
ScegliAuto is not responsible for any inaccuracy of the data in the lists. To report any inaccuracy or your business (if you own the business in question), please write to info@scegliauto.com
Number of seconds to generate the page: 0.027
(c) ScegliAuto 2026 - info@scegliauto.com - Privacy policy - About us VAT number: IT01247470535 |
