
|
Do it yourself
| |||
| ||||


Fiat Bravo - Video tutorial
Model: Fiat Bravo
Bravo 2
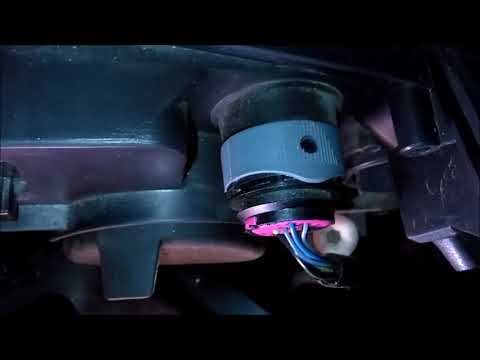
- Years 2007-2014 To replace the bulbs for the backlighting of the Fiat Bravo instrument panel, it is necessary, first of all, to unscrew, using a special key, the two bolts that we find in the plastic element, which we find immediately behind, and above, the steering wheel (located below the instrument panel). Then we unscrew the other bolts that block the frame of the painting itself (as indicated in the video images). We disconnect the electrical supply of the panel (we find the plug on the left of the driver's side, as indicated in the video). At this point, we can remove the instrument panel frame. Now we unscrew the screws that secure the instrument panel lock and, after disconnecting the power supply, we can access the bulb housing and replace it with the new one. To reassemble everything we proceed, following the operations seen, backwards.
Posted on 22 November 2023 by ScegliAuto
 How to replace headlight bulbs on Fiat Bravo
Fiat Bravo (2007-2014 / Bravo 2) Let's see how to replace the headlight bulbs on Fiat Bravo: open the front hood by pulling the lever located at the bottom right of the dashboard (le 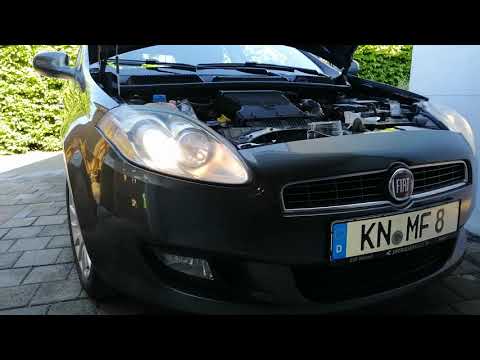 How to replace the headlight bulbs on a Fiat Bravo
Fiat Bravo (2007-2014 / Bravo 2) Let's see how to replace the headlight bulbs mounted on a Fiat Bravo. We open the front hood by pulling the lever located at the bottom right of the 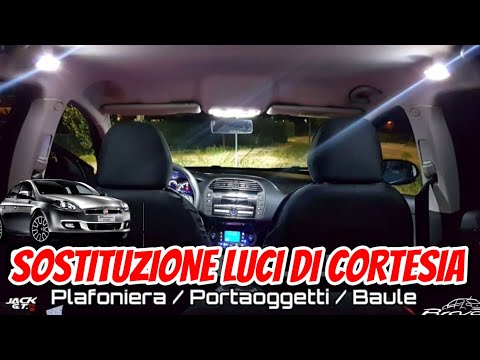 How to replace the led courtesy lights on a Fiat Bravo?
Fiat Bravo (2007-2014 / Bravo 2) This video tutorial will explain how to change the courtesy lights (therefore those inside the passenger compartment) in our Fiat Bravo. First of all Other guides that may interest you
|
Frequently Asked QuestionsHow do I replace the Land Rover Evoque auxiliary battery?
In order to replace the auxiliary battery of the Land Rover Evoque, it is necessary to go inside the passenger compartment and remove the panel which is positioned immediately under the glovebox. Once the screws that secure this panel have been loosened, it will be possible to access the components located in its rear part, including the auxiliary battery. The latter must be disconnected from its cables and the fixing screws must be loosened. The battery can then be replaced with a new one and the panel can be fixed again with its screws. by ScegliAuto More videos
|
|
For advertising on this site Write to info@scegliauto.com
ScegliAuto is not responsible for any inaccuracy of the data in the lists. To report any inaccuracy or your business (if you own the business in question), please write to info@scegliauto.com
Number of seconds to generate the page: 0.097
(c) ScegliAuto 2024 - info@scegliauto.com - Privacy Policy VAT number: IT01247470535 |